Step 00.17 — Unbag the rails and immobilise every carriage
Step 17 of 32 with a helper · Chapter 00 — Before you start
Tap to enlarge
 Gather for this segment — steps 00.17–00.18 (~30 min)
Linear Rail Kit box
LDO-SLR12H-400Z1stainless MGN12H (X axis) ×1LDO-SLR9H-400Z0stainless MGN9H (2× Y, 4× Z) ×6
Tools and consumables
- IPA ≥ 90%
- nitrile gloves
- clean towel
Set out for later steps
- the seven rails, one at a time, end stops on
Parts:
- 1×
LDO-SLR12H-400Z1stainless MGN12H (X axis) · Linear Rail Kit box - 6×
LDO-SLR9H-400Z0stainless MGN9H (2× Y, 4× Z) · Linear Rail Kit box
Do:
- Work one rail at a time, over the bench.
- Slide it out to reach the carriage and tape it to the rail.
- Band tape 15 mm from each end, remove the carriage tape, re-bag the rail.
 Check
Seven rails, each back in its own bag with two end stops on and none dropped. Bags laid flat, not stacked on each other.
 Helper Holds the rail flat on the bench while you tape the carriage and the end stops.
What you're looking at
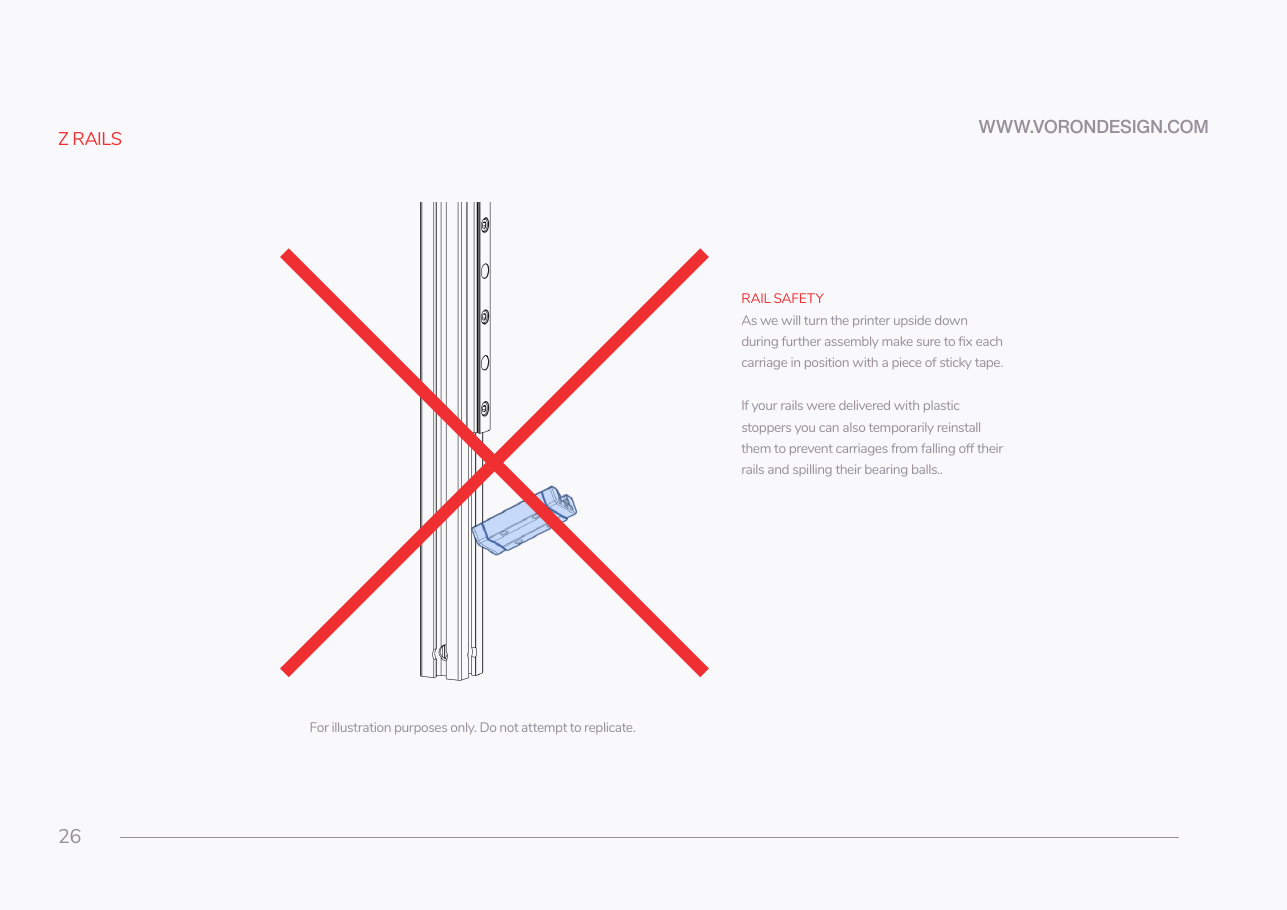
Manual p.26: the linear rails and their carriages. A linear rail is a hardened steel bar with ball-bearing grooves down each side; the carriage is the block that rides on it. Its balls fall out if it runs off the end.
Caution
The carriage is designed to slide freely, which includes sliding off the end and spilling its ball bearings. Never work over the floor, never let a rail hang vertically with an untaped, unstopped carriage, and never let one fall: a dent or nick anywhere on the raceway makes that rail misbehave for the life of the machine.
 Tip
a small zip tie round the rail does the same job and shrugs off the IPA; plastic end stoppers work if your rails shipped with them.
Source: Voron manual p.26 · Voron manual p.24 · LDO rail grease guide · Video: Part 1 @1:54:03