Chapter 00 — Before you start
Start the chapter · Resume · Read the whole chapter on one page
Step 00.1Open the cartons without cutting into them
Step 00.2Find the kit serial and open your batch BOM pagewith a helper
Step 00.3Inventory carton 1, box by boxwith a helper
Step 00.4Inventory carton 2 and caliper the deck panelwith a helper
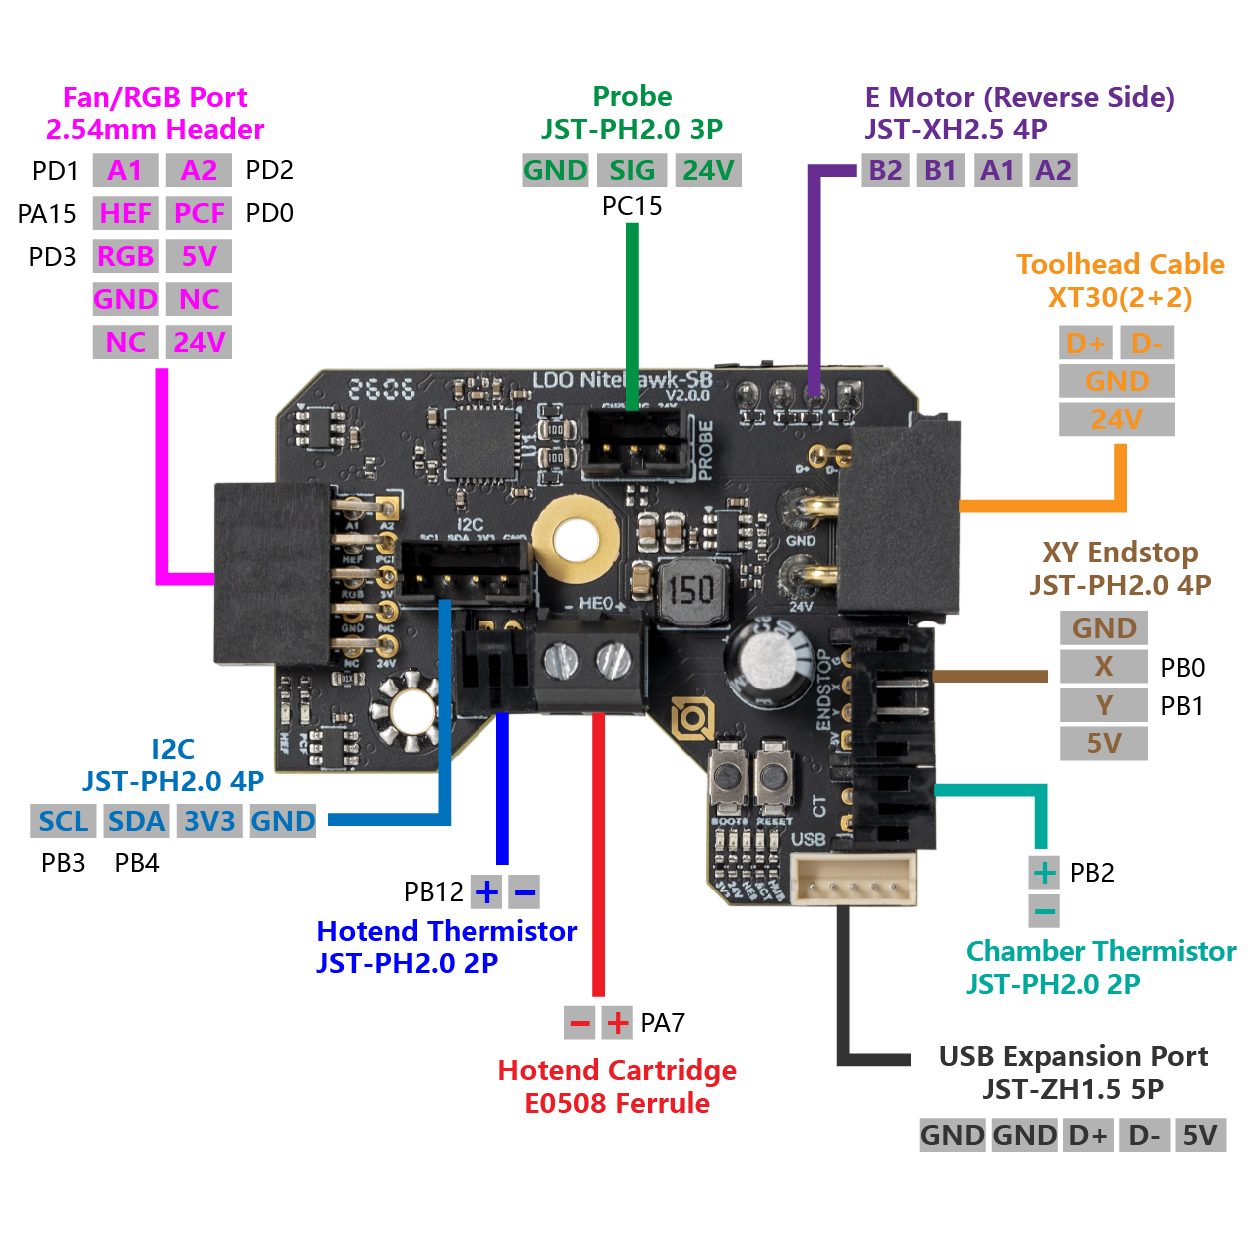 Step 00.5Verify you actually received a Rev D+ (Nitehawk-SB V2)with a helper
Step 00.6Set aside the ten LDO-supplied printed partswith a helper
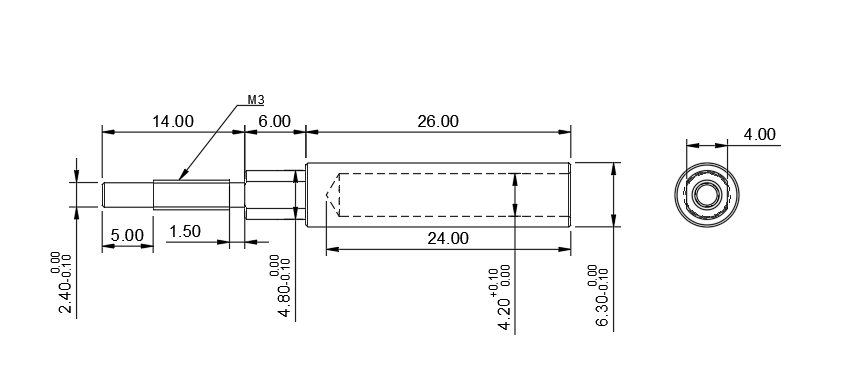 Step 00.7Lay out what the kit already gives youwith a helper
Step 00.8Settle the tool list: owned vs. buypre-kit
Step 00.9Order the consumables with the longest lead time firstpre-kit
Step 00.10Verify the flat referencepre-kitwith a helper
Step 00.11Bin the workspace by chapterpre-kitwith a helper
Step 00.12Empty the fastener bags into the hardware trayswith a helper
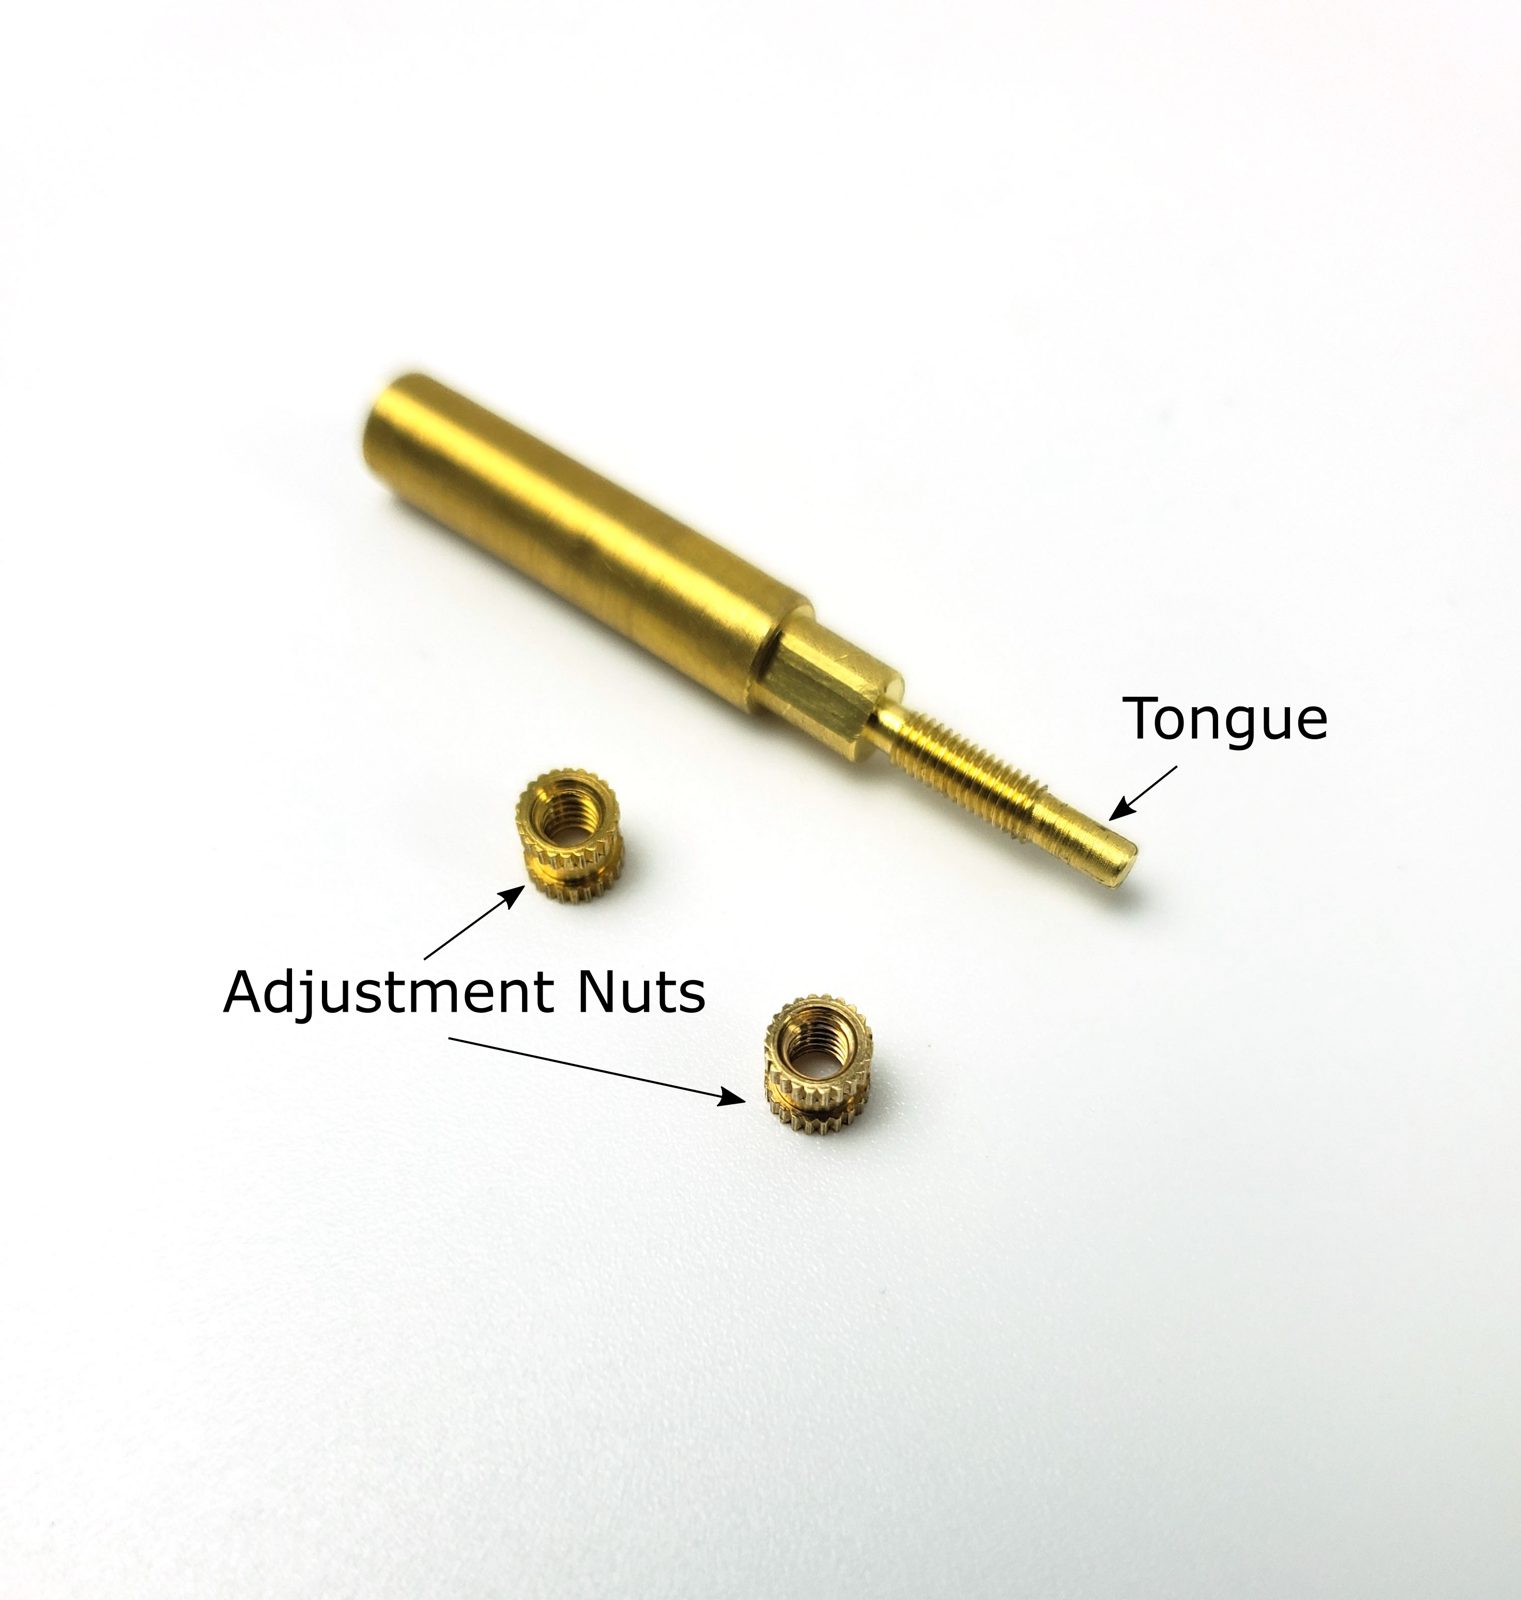 Step 00.13Fit the brass tip and set the tongue flush
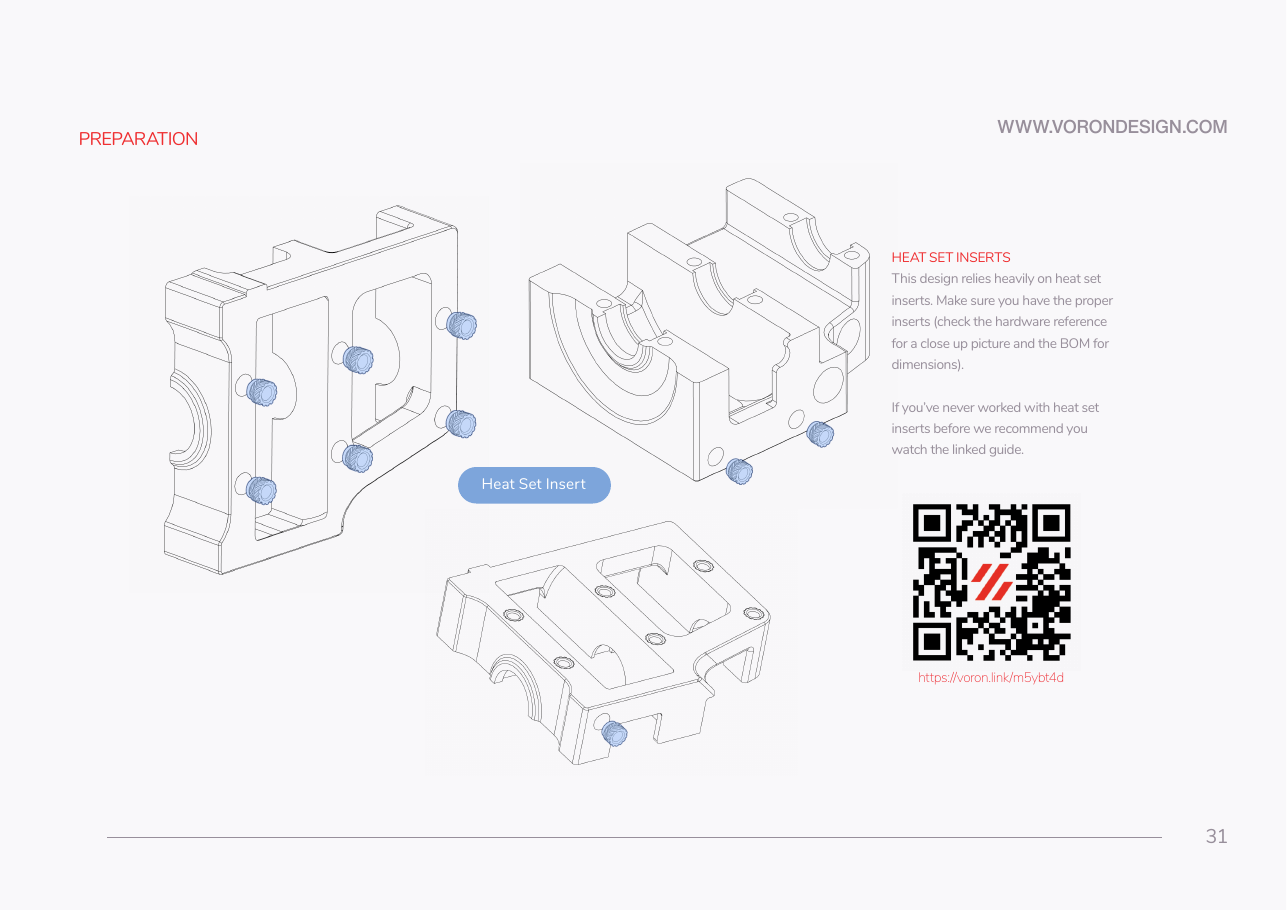 Step 00.14Find the iron temperature on the practice couponpre-kit
Step 00.15Learn what a good insert looks likepre-kit
Step 00.16Plan the 153 insertspre-kit
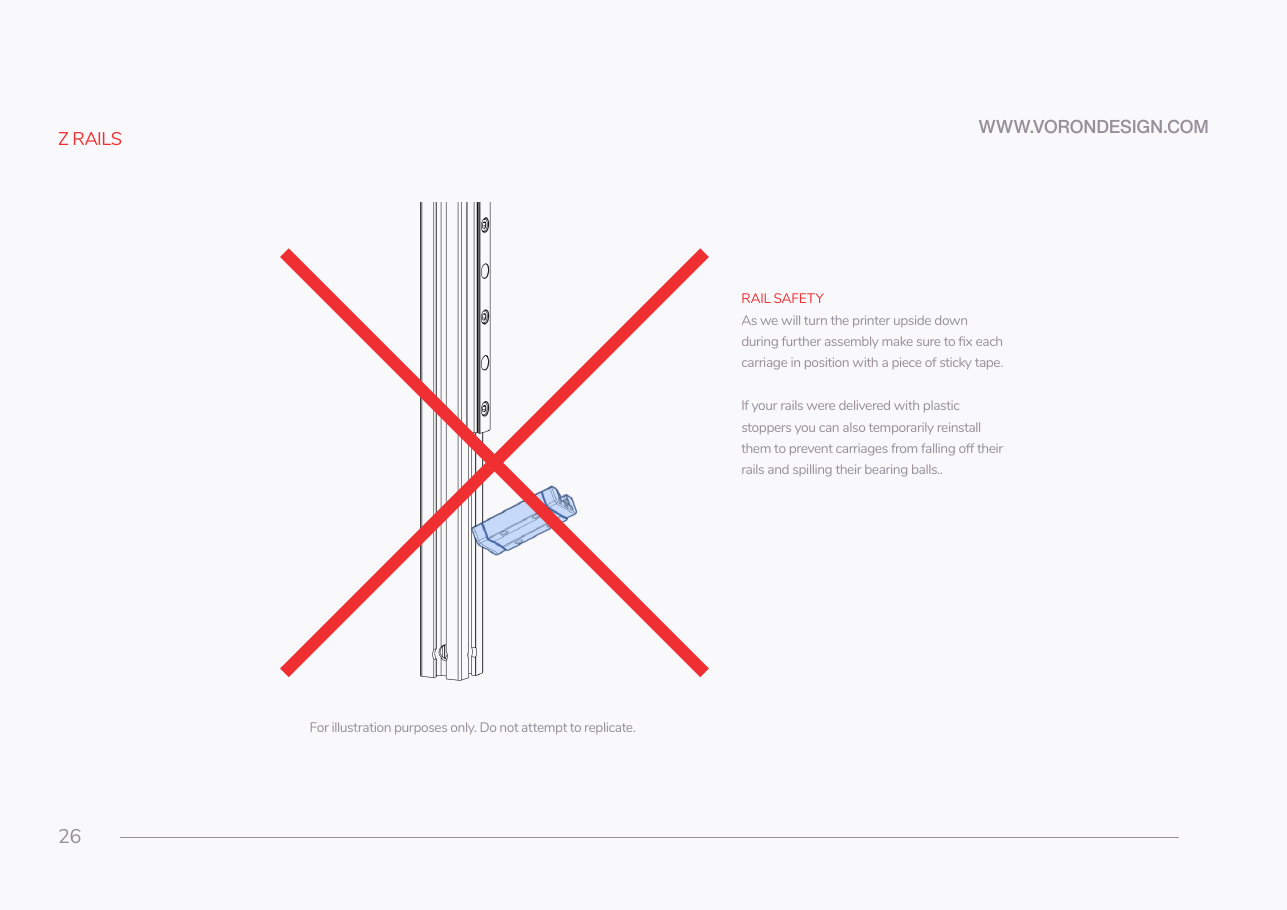 Step 00.17Unbag the rails and immobilise every carriagewith a helper
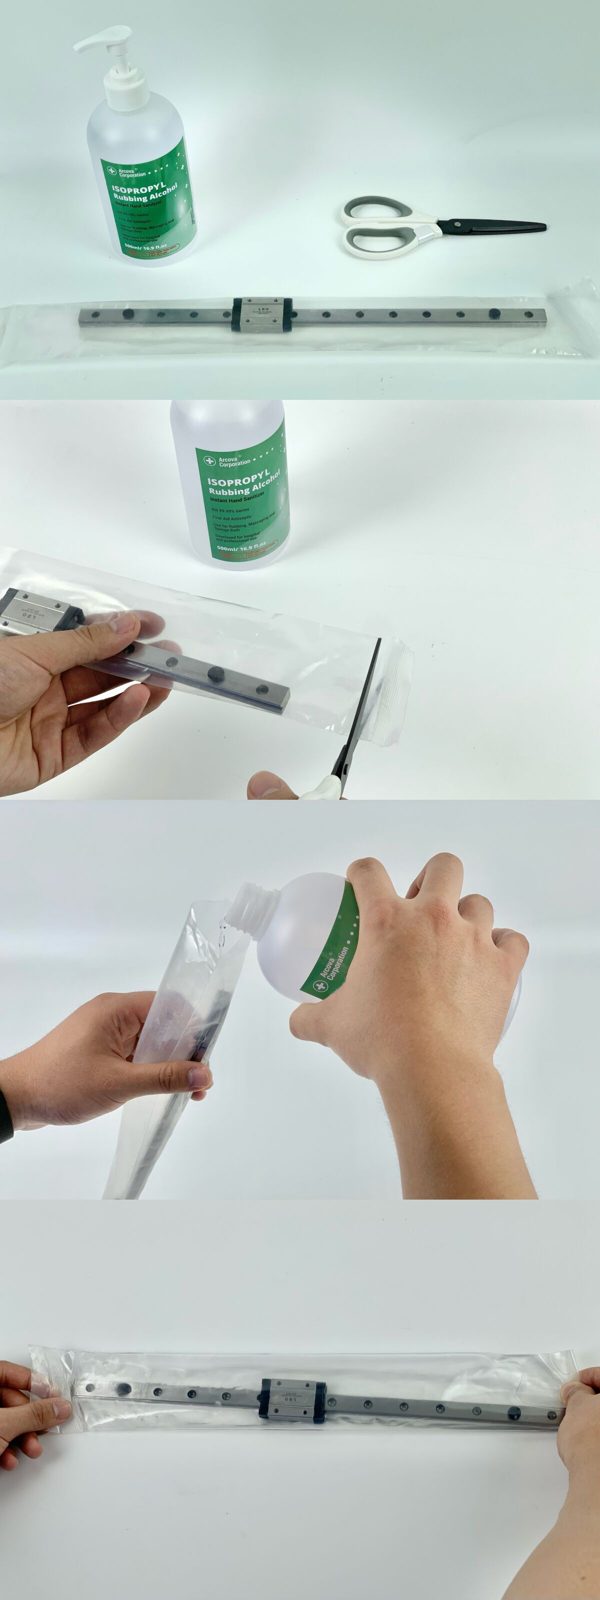 Step 00.18Degrease: IPA soak, then dry completely
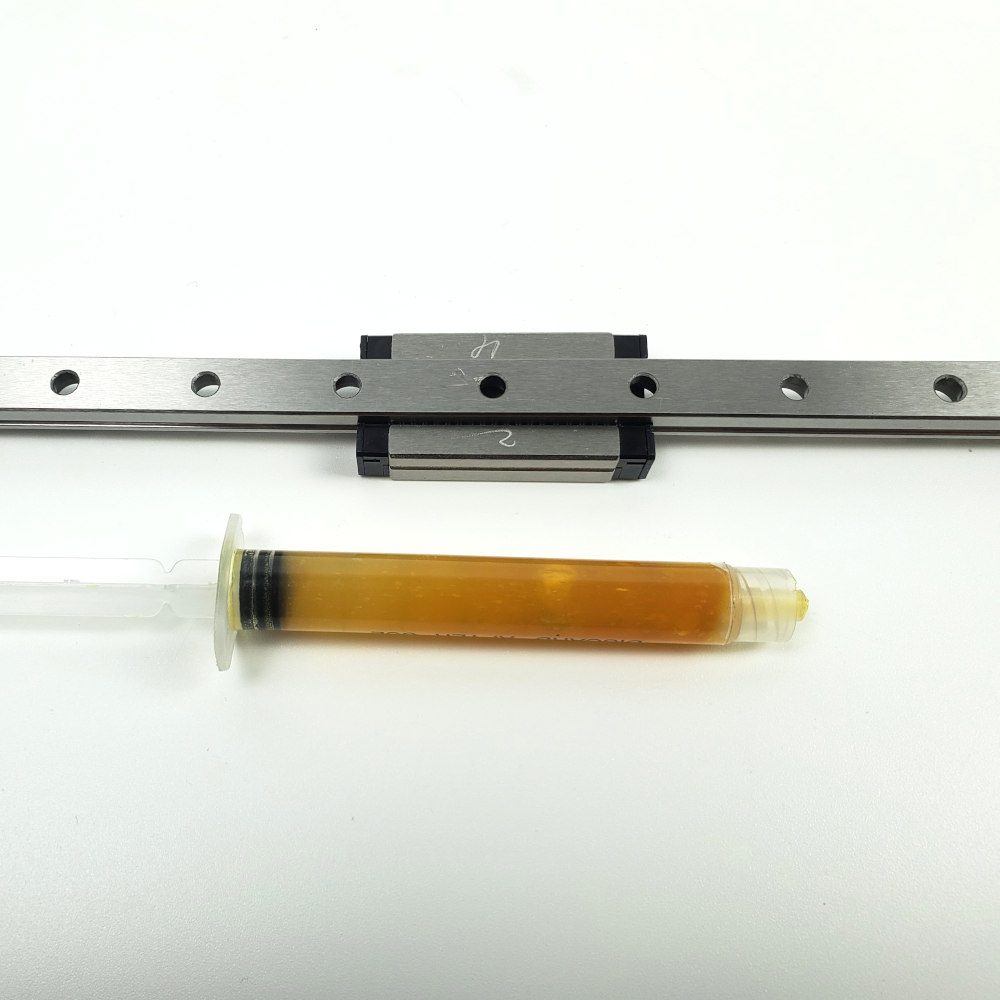
Step 00.20Clean the rail surface back to bare steelwith a helper
Step 00.21Label and bag the seven rails by destinationwith a helper
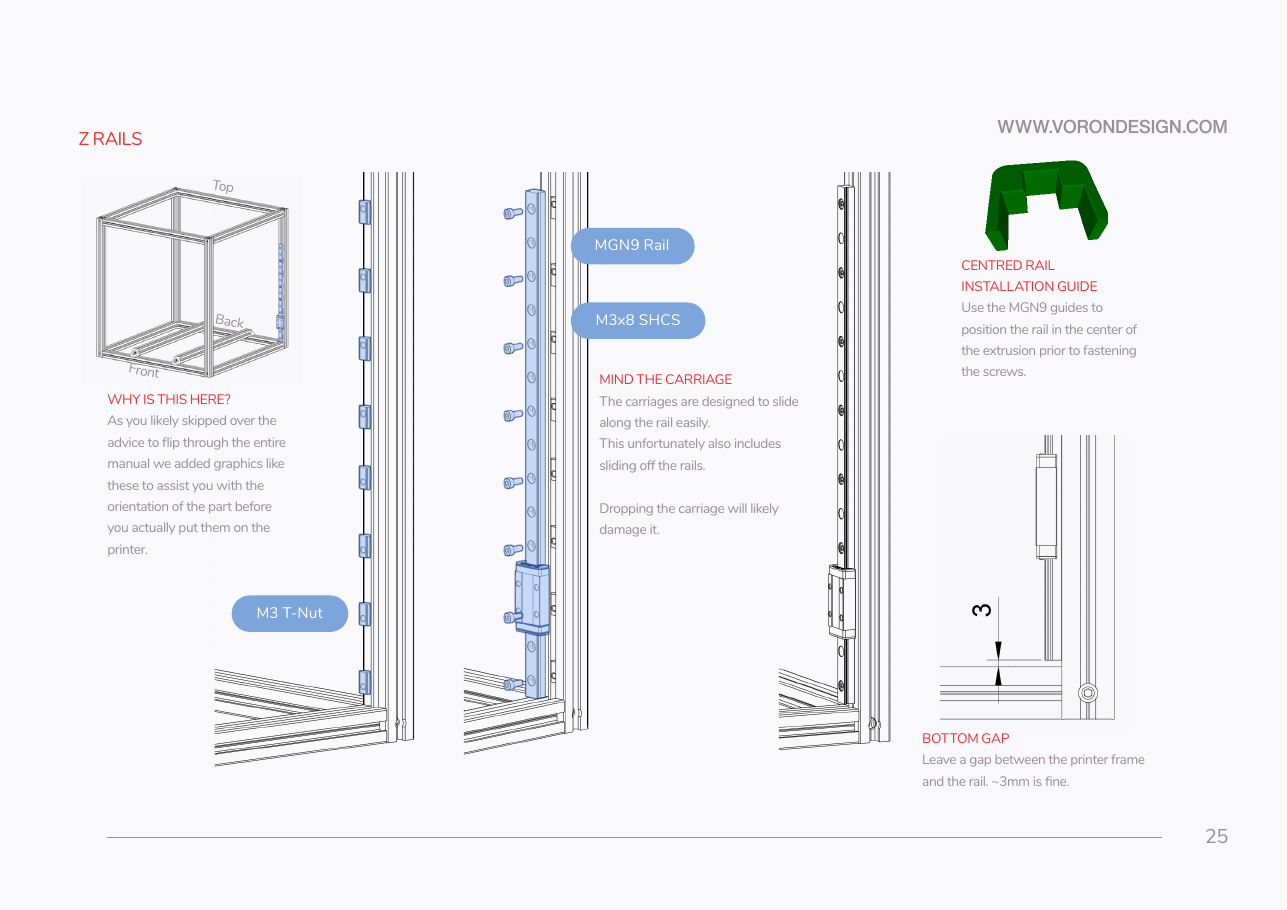 Step 00.22Understand the rail jigs before you need them
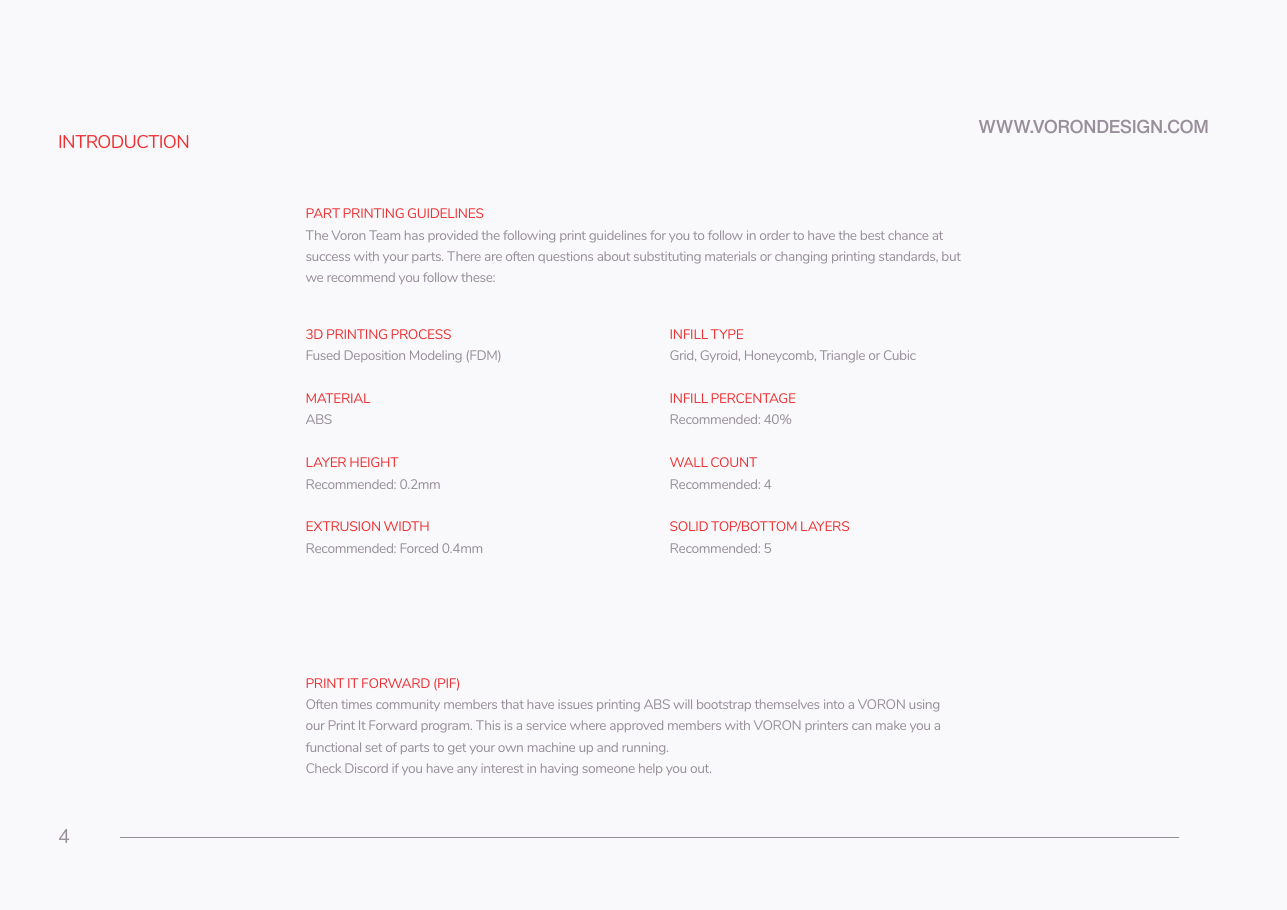 Step 00.23Print guidelines (p.4)pre-kit
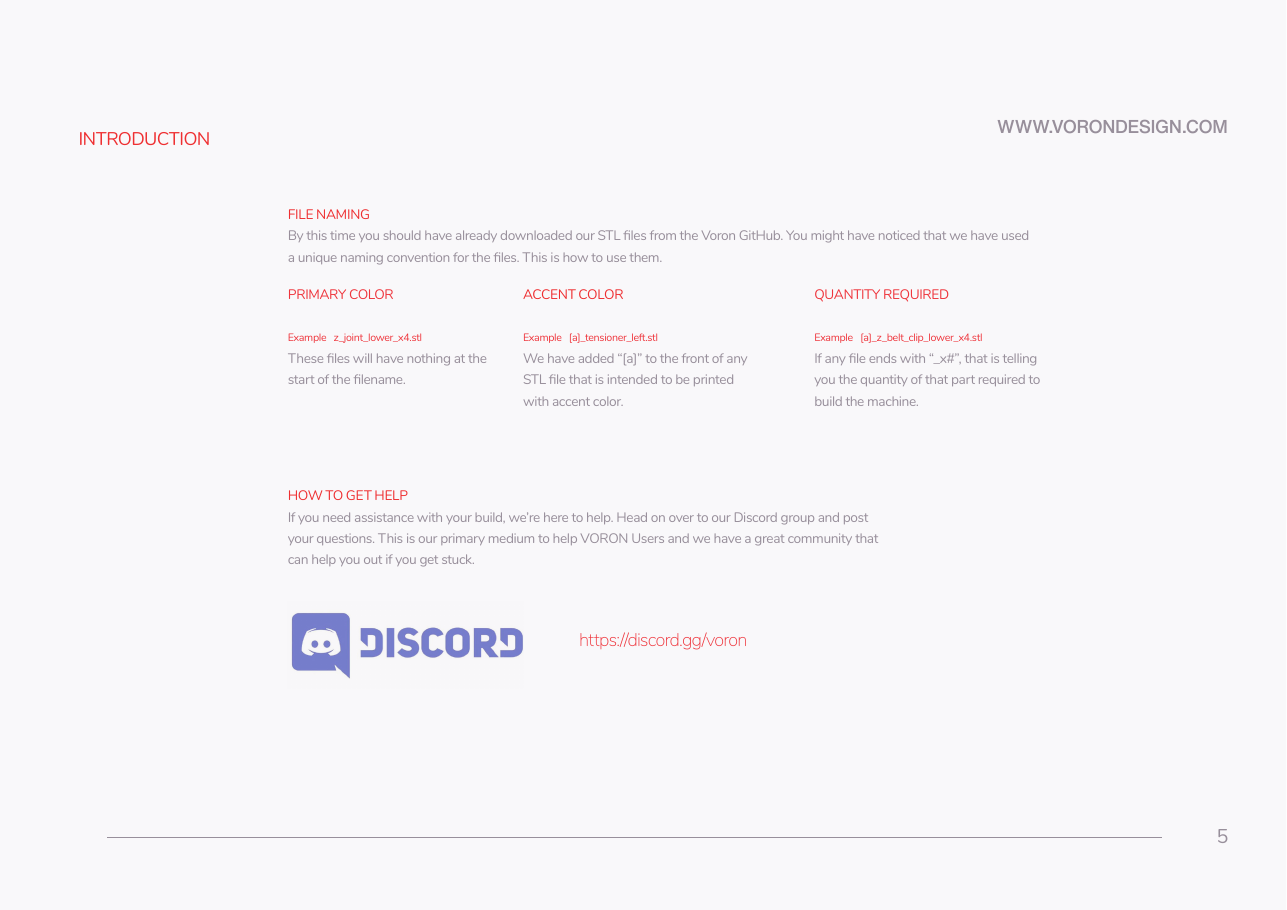 Step 00.24File naming, and where to get help (p.5–6)pre-kit
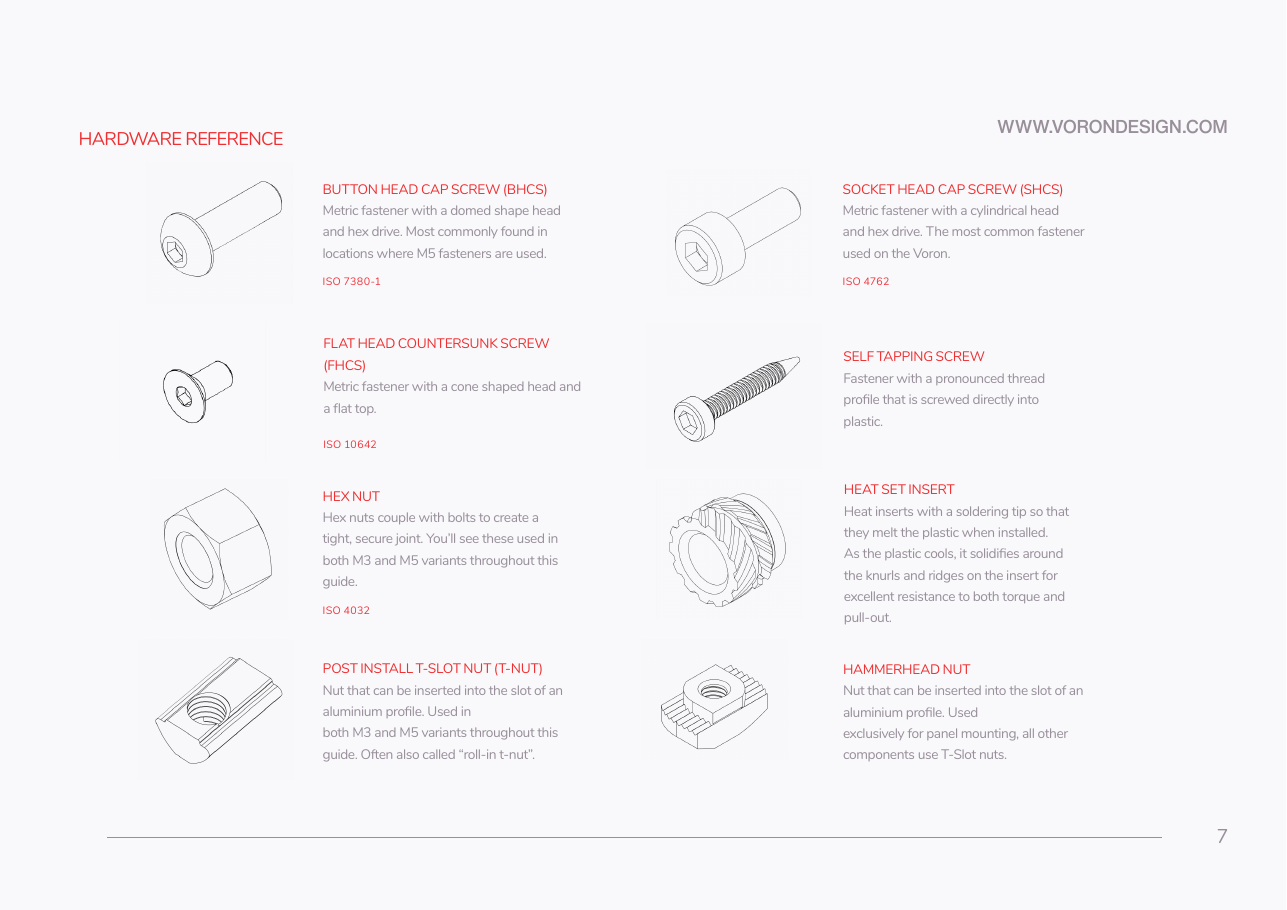 Step 00.25Fastener names, part 1 (p.7)pre-kitwith a helper
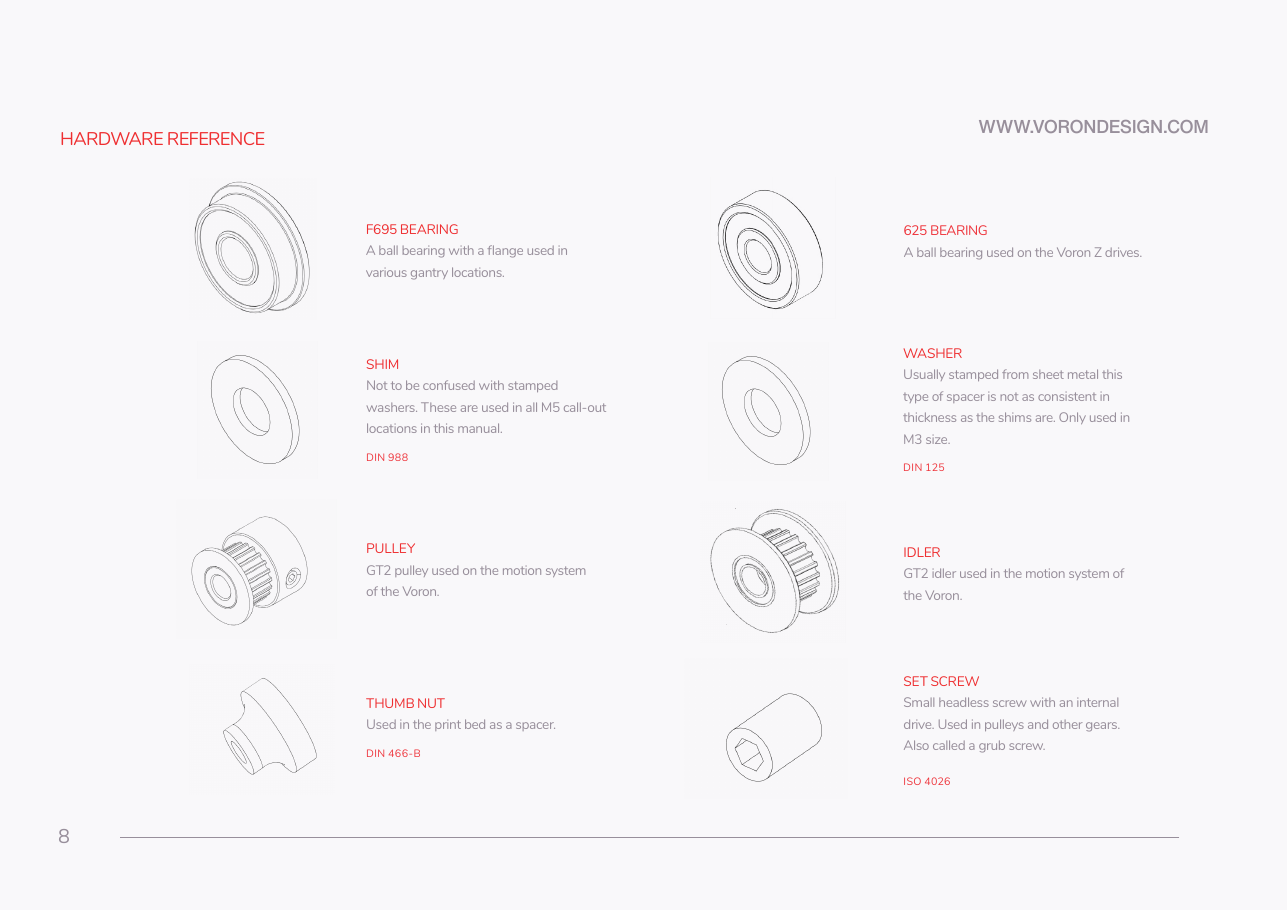 Step 00.26Fastener names, part 2, and the spacer substitution (p.8)pre-kit
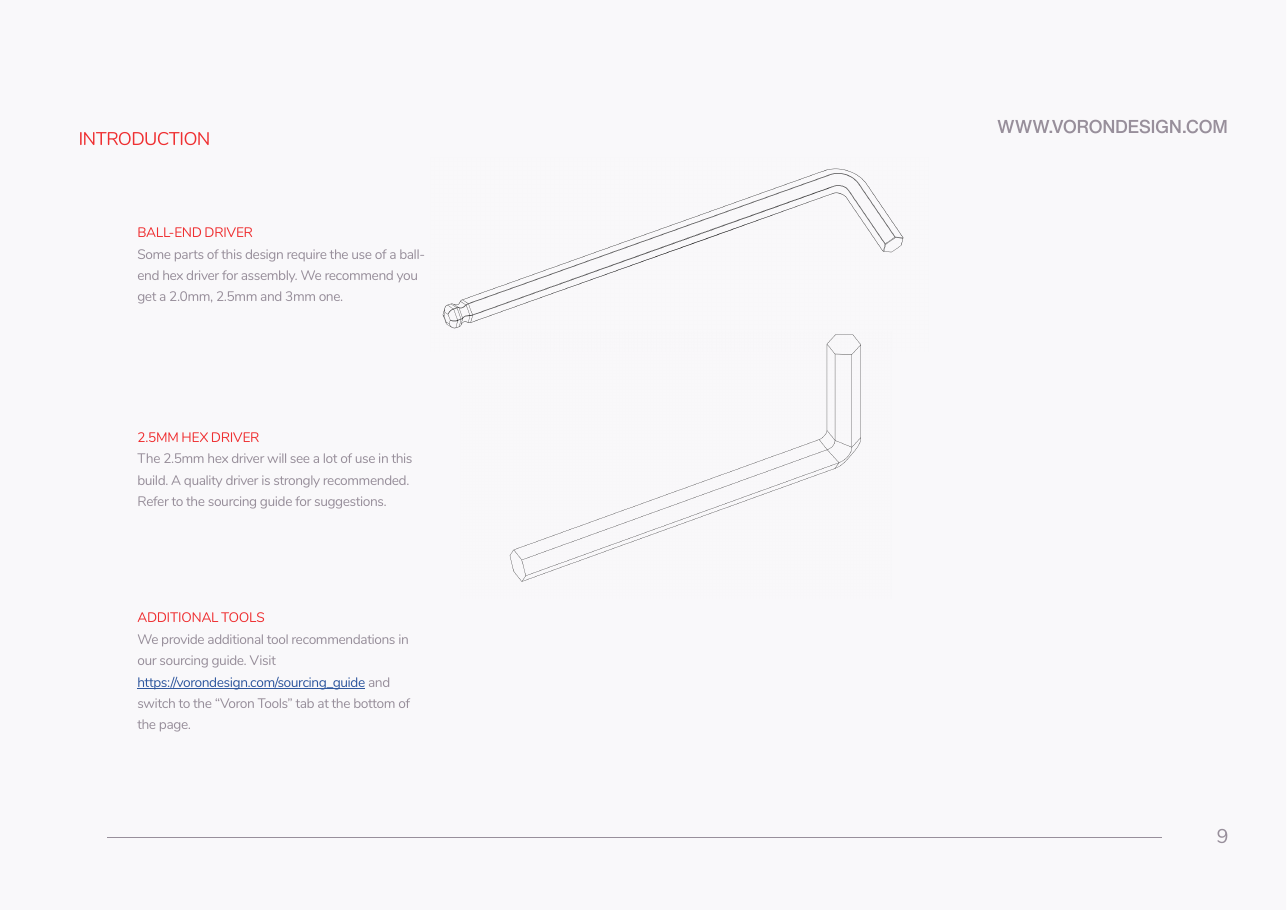 Step 00.27Drivers (p.9)pre-kit
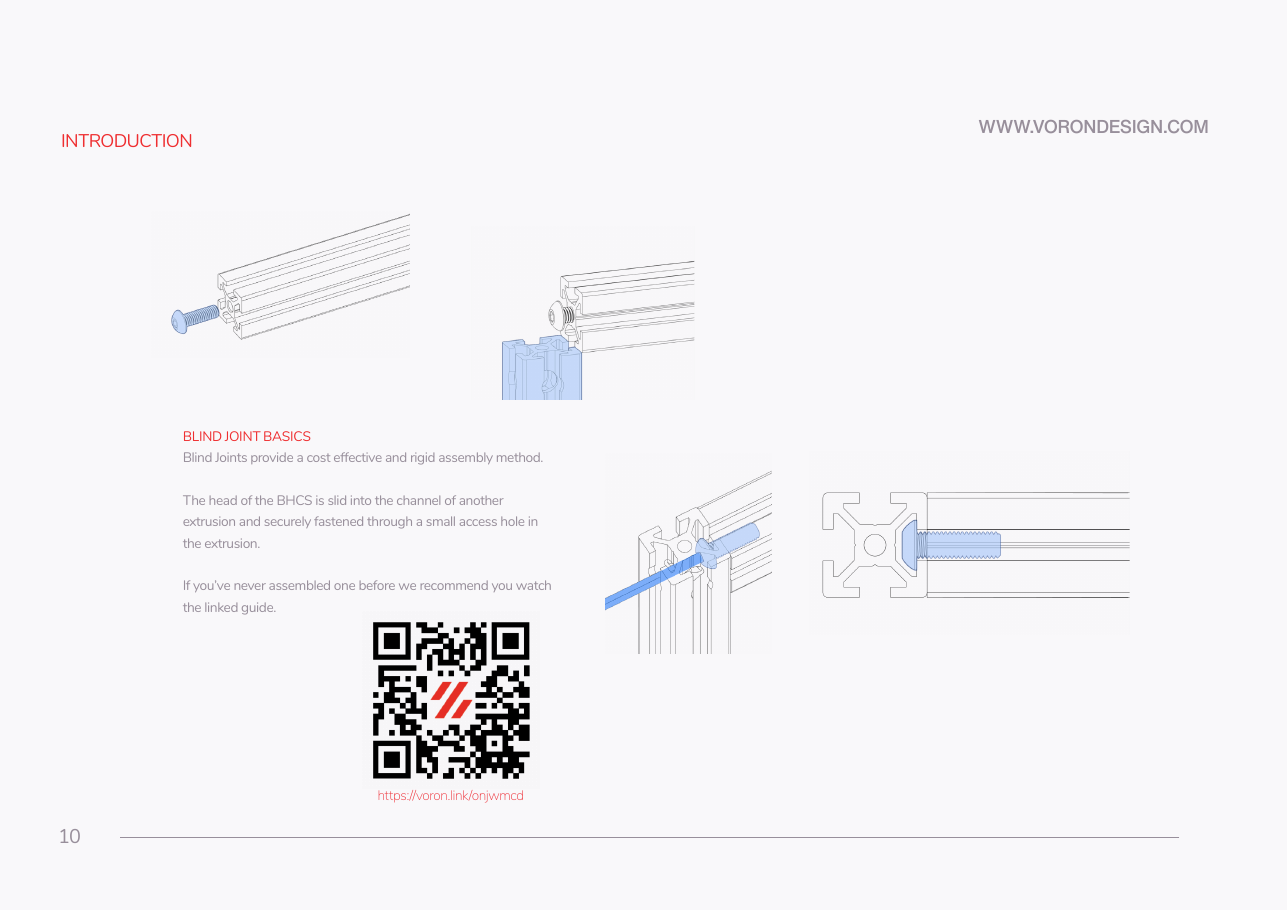 Step 00.28Blind joints (p.10)pre-kit
Step 00.29How to read an exploded view, and the page-number contract (p.11)pre-kit
Step 00.30Start the measurement logpre-kitwith a helper
Step 00.31Join the three lifelines nowpre-kit
Step 00.32Post the two questions that gate later chapterspre-kit
Gather per session — what to lay out before each bench segment.
- Steps 00.1–00.6 · ~40 min — Electronics 2 box: Nitehawk SB toolhead PCB ×1; Stealthburner fan adapter ×1; USB adapter PCB ×1; Leviathan Bracket Left ×1; Leviathan Bracket Right ×1; NH Adapter Mount ×1; DIN Clip ×4; CW2 Chain Anchor Tilted ×1; 2×3 Splitter Spacer ×2; LDO Nozzle Probe ×1; Bed WAGO Mount ×1; Stealthburner LED Diffuser, clear PETG ×1; CW2 PCB Spacer ×1 · Other box: C13 power cord ×1; Revo HF hotend ×1; DIN rail ×2; Leviathan mainboard ×1; Meanwell LRS-200-24 PSU ×1 · Panel Kit box (carton 2): Deck panel, acrylic, black, 469×469 ×1; Back panel, acrylic, black, 483×503 ×1; Bottom panel, acrylic, black, 469×469 ×1; Door panel, PC, clear, 241×503 ×2; Side panel, PC, clear, 483×503 ×2; Top panel, PC, clear, 483×483 ×1 · Build Plate box (carton 2): Magnetic pad ×1; Spring steel flex plate ×1; Build plate ×1 · Tools and consumables: box cutter, blade set shallow; PVC wire duct ×5; extrusion slot cover ×9; digital caliper · Set out for later steps: Cable Kit 2.4-350 box; Motion box; Electronics 1 box; Electronics 2 box; Fasteners, Tools & Misc box; Belts, Chains & Fans box; Linear Rail Kit box; Frame Kit 2.4-350 box; Motor Kit box
- Step 00.7 · ~10 min — Fasteners, Tools & Misc box: Aluminium handle ×2 · Tools and consumables: hex wrench 1.5 mm; hex wrench 2 mm; hex wrench 2.5 mm; hex wrench 3 mm; hex wrench 4 mm; slot head screwdriver 2.5 mm; brass heat-set insert tool, M3; drill bit 2 mm; brass brush
- Steps 00.8–00.11 · ~25 min — Tools and consumables: straightedge ≥ 600 mm; feeler gauge set; masking tape; marker; A5 mesh zip bag ×29; B5 mesh zip bag ×6; box for the skirt ring ×1; spare bins for the LDO-supplied parts and the greased rails; scissors
- Steps 00.12–00.13 · ~35 min — Tools and consumables: printed hardware trays A, B and C; LDO brass M3 heat-set tip; soldering iron, cold; one M3×5×4 kit insert as the tongue gauge, back in tray C after · Set out for later steps: Fasteners, Tools & Misc box
- Steps 00.14–00.16 · ~25 min — KADRICK kit: M3×H5 heat-set insert ×7 · Printed parts:
Heatset_Practicecoupon ×1 (bin 00-jigs) · Tools and consumables: soldering iron with its stock conical tip; soldering iron; flat cold tool, for the last 10 % · Already on the bench: theHeatset_Practicecoupon and its seven inserts (bin 00-jigs) - Steps 00.17–00.18 · ~30 min — Linear Rail Kit box:
LDO-SLR12H-400Z1stainless MGN12H (X axis) ×1;LDO-SLR9H-400Z0stainless MGN9H (2× Y, 4× Z) ×6 · Tools and consumables: IPA ≥ 90%; nitrile gloves; clean towel · Set out for later steps: the seven rails, one at a time, end stops on - Steps 00.19–00.22 · ~40 min — Printed parts:
MGN12_rail_guide_x2×4 (bin 00-jigs);MGN9_rail_guide_x2×4 (bin 00-jigs);pulley_jig×1 (bin 00-jigs) · Tools and consumables: Super Lube 21030; 10 ml syringe with a blunt tip, or the tube nozzle; lint-free cloth; masking tape; marker; storage bin ×1 · Set out for later steps: one dried rail; one greased rail; C extrusion ×1, for the guide test; the seven greased rails - Steps 00.23–00.29 · ~25 min — Tools and consumables: ball-end hex driver 2 mm; ball-end hex driver 2.5 mm; ball-end hex driver 3 mm; plain hex driver 2.5 mm
- Steps 00.30–00.32 · ~20 min — Tools and consumables: notebook, or a shared note on the iPad