Step 08.65 — Return to the printer manual
Step 65 of 65 · Chapter 08 — Toolhead: Stealthburner, Clockwork 2, Revo HF, Nitehawk-SB V2
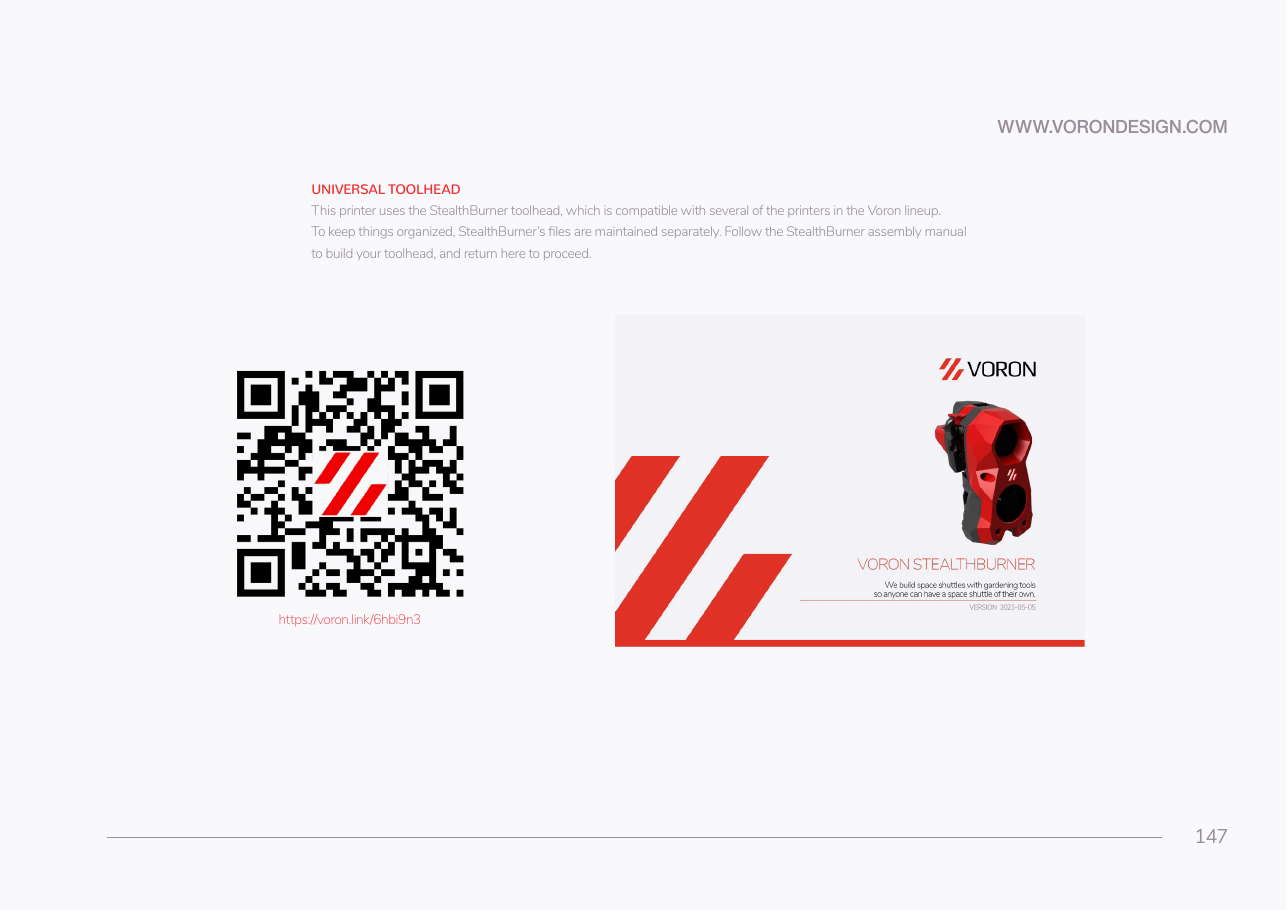
Tap to enlarge
Parts: none.
Do: Manual p.147 is the "return here to proceed" page. The toolhead is mechanically complete and every toolhead-side connector is made. Everything below the deck is Ch 09 and Ch 10.
 Check
Nothing on the toolhead is loose, nothing is left unplugged, and the umbilical's free end is coiled and labelled.
What you're looking at
The return page. The toolhead is mechanically complete and every connector on the toolhead side is made. Everything below the deck is Ch 09 and Ch 10: the USB adapter, the 24 V feed, the Z endstop and the drag-chain runs.
 Good stopping point · ~35 min since the last one
the toolhead is on the carriage, the body is on with the board-to-board header mated, the umbilical is parked on the chain anchor with one loose tie and its free end is coiled and labelled. This is the end of the hands-on work in this chapter. Do not apply power: Checkpoint 08 below is a cold bench test and it is the last cheap chance to find a toolhead fault.
Source: Voron manual p.147