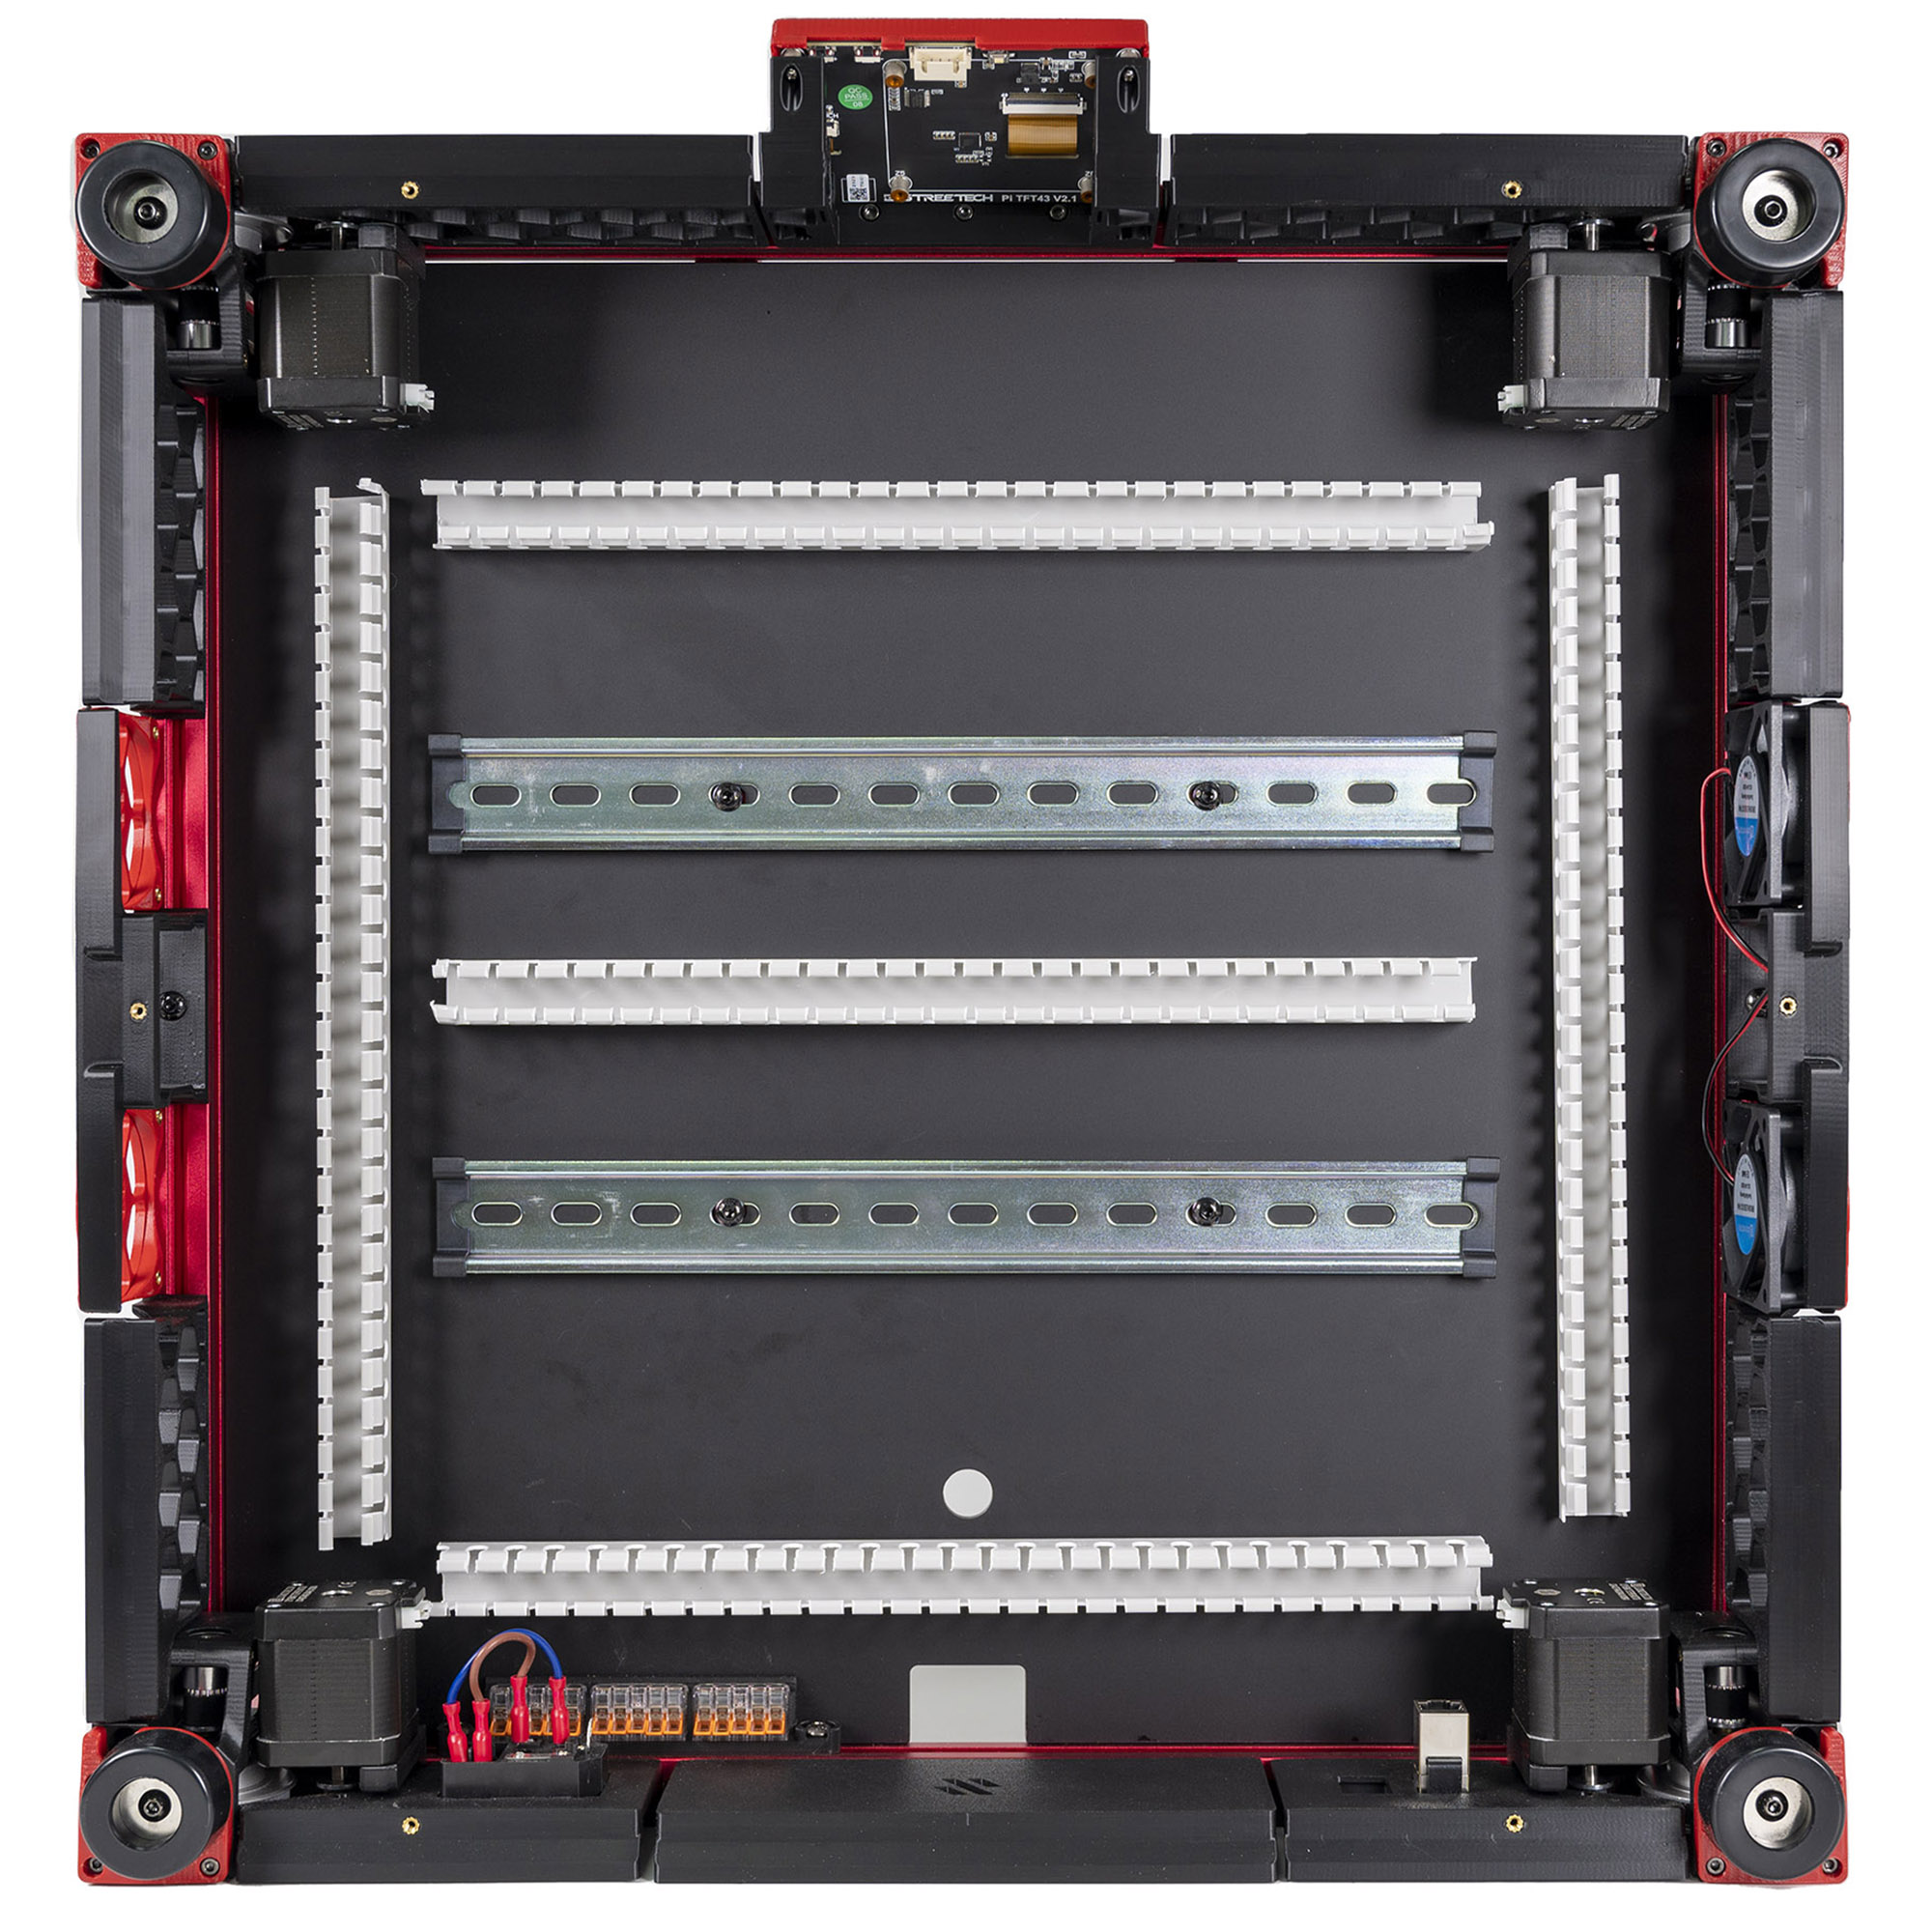
Step 09.6 — Lay the printed DC conduit¶
Step 6 of 36 with a helper · Chapter 09 — Electronics bay
 Gather for this segment — steps 09.6–09.7 (~25 min)
Printed parts
- one spare printed
pcb_din_clip×1 · bin 09-bay CMD_V3_1H_154mm_DUCT×2 · bin 09-ducts-DCCMD_V3_1H_90DEG×2 · bin 09-ducts-DCV2L_90DEG_MIRROR×1 · bin 09-ducts-DCV2L_58mm_DUCT×3 · bin 09-ducts-DCV2L_130mm_DUCT×1 · bin 09-ducts-DCV2L_70mm_DUCT×1 · bin 09-ducts-DCCMD_Remix-V3_DUCT-2B_45deg×2 · bin 09-ducts-DCV3L_10mm_DUCT×1 · bin 09-ducts-DC, 09-ducts-ACV3L_T_REG_N×2 · bin 09-ducts-DCV3L_154N_DUCT×2 · bin 09-ducts-DC
Tools and consumables
- masking tape
Parts:
-
CMD_V3_1H_154mm_DUCT×2 · bin 09-ducts-DC -
CMD_V3_1H_90DEG×2 · bin 09-ducts-DC -
V2L_90DEG_MIRROR×1 · bin 09-ducts-DC -
V2L_58mm_DUCT×3 · bin 09-ducts-DC -
V2L_130mm_DUCT×1 · bin 09-ducts-DC -
V2L_70mm_DUCT×1 · bin 09-ducts-DC -
CMD_Remix-V3_DUCT-2B_45deg×2 · bin 09-ducts-DC -
V3L_10mm_DUCT×1 · bin 09-ducts-DC, 09-ducts-AC -
V3L_T_REG_N×2 · bin 09-ducts-DC -
V3L_154N_DUCT×2 · bin 09-ducts-DC - masking tape · consumable
Do:
- Dry-lay the DC loop against the overlay, every joint pushed closed.
- Mark each joint and run end on masking tape on the deck.
- Leave the loop there; VHB, lids and AC parts stay in their bins.
 Check
One closed loop, joints marked, round hole uncovered, notch open wide enough for the DC bundle, no motor or plug touched. Nothing stuck down.
 Helper Writes each joint's mark on the masking tape as the adult pushes the pieces closed.
What you're looking at
Layout v3: two printed conduits in place of LDO's five PVC ducts. The DC loop, drawn black, circles both rails with a narrowed middle run between them. It stays loose until 09.36, once the boards it must clear are on. Overlay positions are approximate.
 Tip
Overlay labels: 58c, 130c, 70c and 10c are the straights of that length; FL 90 is V2L_90DEG_MIRROR; T (N) is V3L_T_REG_N; 45 is the 45° pair.
Middle run
fit it only if B11.10's gap row passed (verify on bench). Otherwise fit stock CMD_V3_1H_T_REG in place of each narrowed T, and butt LDO's PVC middle duct against both T stems (verify on bench). Where B11's fallback 82 mm straight goes is not drawn yet. B11 options
LDO layout
cut five PVC ducts instead: three left to right, ahead of the front rail, between the rails and behind the rear one; two front to back down the sides. Lengths are not published (verify on bench); keep the offcuts. LDO § DIN rails and wire ducts
Source: review/2026-09-23-bay-mods/layout-v3/layout-v3.md · B11 — Bay ducting · MSS duct remix, Printables 502306, after RyanDam's Cable Management Duct, GPL-3.0 · LDO wiring guide § Installing the DIN rails and wire ducts · image S0_Din_Raill.jpg · Video: Part 7 @0:55:08