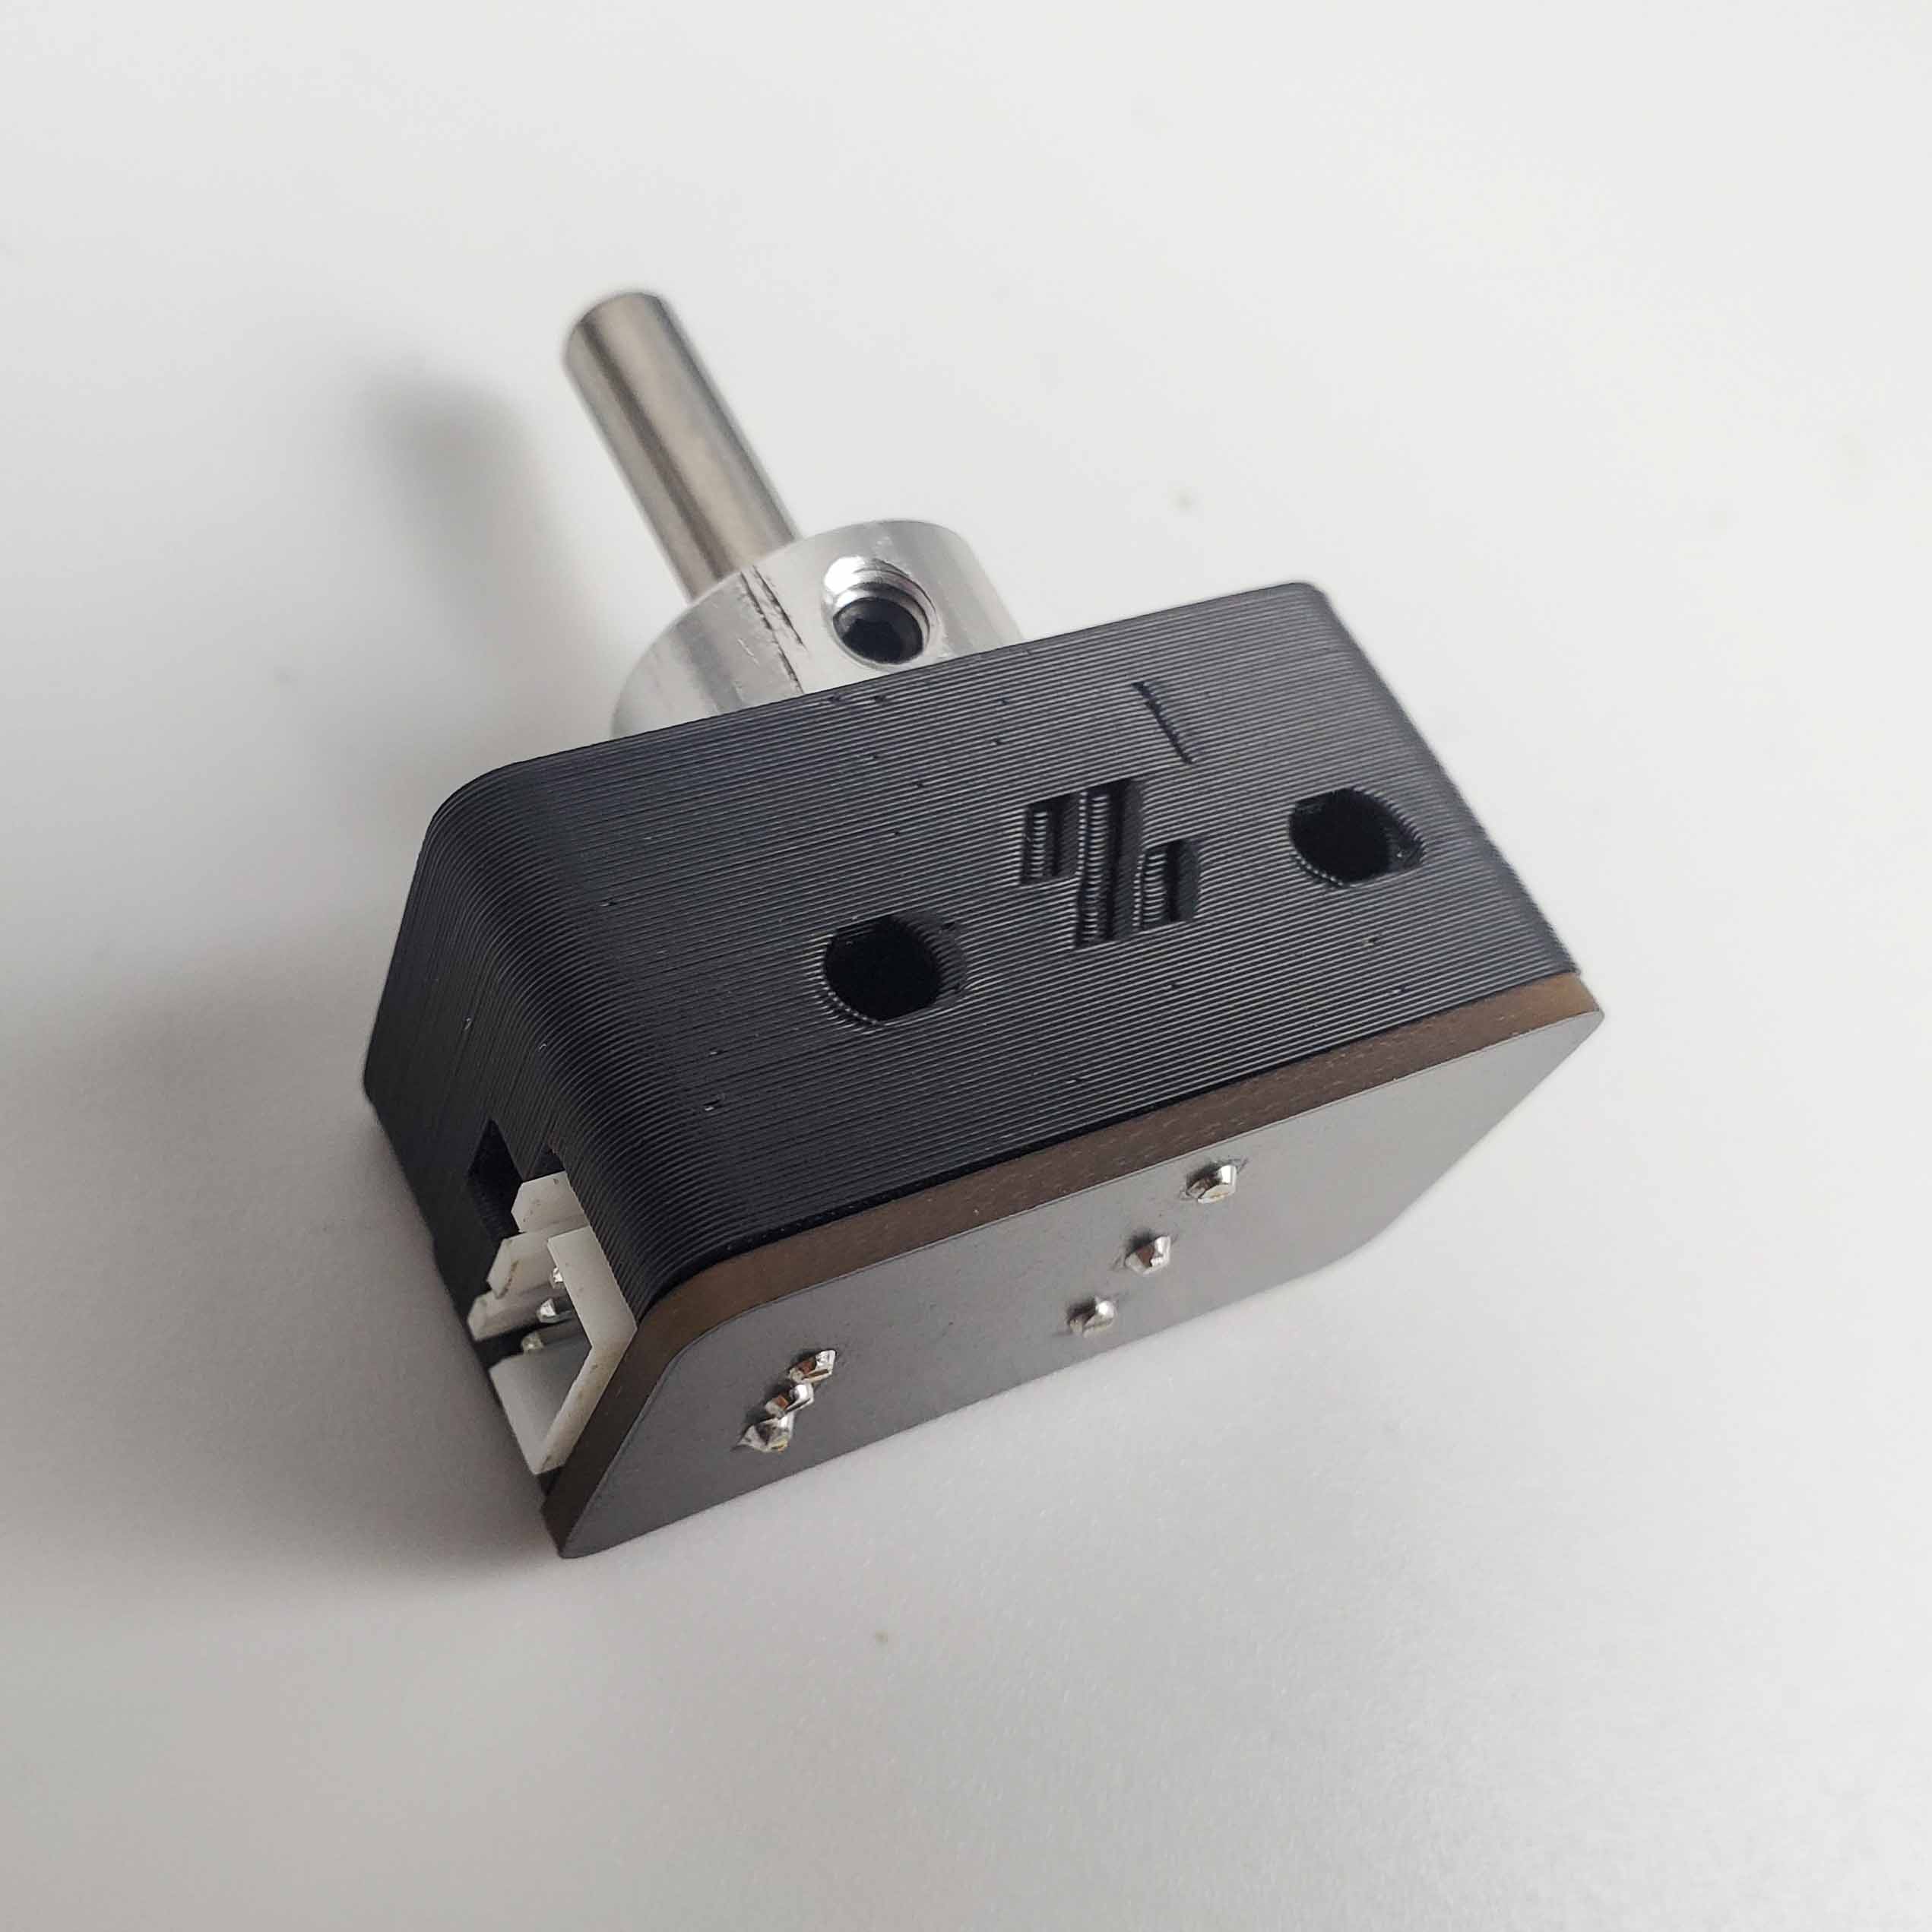
Step 10.34 — Nozzle-probe (Z endstop) cable¶
Step 34 of 80 with a helper · Chapter 10 — Wiring and Checkpoint #1
Parts:
- Z endstop cable ×1 · the Cable Kit box
- the nozzle-probe PCB · already on the bench
Do: Plug the 3-pin connector onto the nozzle-probe PCB. Route the lead across the deck to the Z-chain notch and drop it through beside the Z-chain bundle, not the round hole.
 Check
Press the 5 mm shaft down with a finger: it moves freely, clicks the D2F, and springs back.
 Helper Presses the probe shaft down and says when the switch clicks and the shaft springs back.
What you're looking at
The nozzle probe is LDO's mechanical Z endstop: a sprung 5 mm pin below the bed that the nozzle itself presses down onto a D2F microswitch, on the little PCB Ch 09 mounted. This, not the inductive probe, is what sets Z=0.
Caution
The small GT2 pulley used as the shaft collar, built in Ch 09, has a set screw that stops the shaft falling out. It must not grip the shaft.
Layout v3
the notch route adds about 44 mm; check the lead has spare during this fit (verify on bench). If it's short, make a longer replacement lead, same 3-pin connector; a DC lead never enters the AC conduit. LDO layout: it drops through the round hole alongside the bed cables, per LDO's build-plate mapping. LDO § Wiring the bed heater
 Good stopping point · ~25 min since the last one
probe tape confirmed, XY endstop cable read (and repinned if needed) and plugged into the gantry PCB, nozzle-probe lead run to the Z-chain notch. Both cables are loose on the gantry, not yet in a chain.
Source: LDO wiring guide § Assembling the nozzle probe · LDO wiring photo z_stop_final.jpg · Video: Part 8 @1:49:54 (differs: Euclid probe (Klicky fitted later, Part 11); this kit uses the Omron inductive probe + LDO nozzle probe, Klicky bagged · BTT Octopus + separate Raspberry Pi; this kit is a Leviathan with the Pi mounted on it)