Step 08.57 — Read the handoff page and get help for the lift
Step 57 of 65 · Chapter 08 — Toolhead: Stealthburner, Clockwork 2, Revo HF, Nitehawk-SB V2
Tap to enlarge
 Gather for this segment — steps 08.57–08.65 (~35 min)
Cable Kit 2.4-350 box
- toolhead cable, USB and 24 V, XT30(2+2) ×1
Electronics 2 box
- USB Adapter PCB ×1
- NH Adapter Mount ×1
Fasteners, Tools & Misc box
- M3×8 SHCS ×2
- M3×25 SHCS ×2
- M3×50 SHCS ×2
The kit, no 350 BOM row
- M3×10 SHCS ×3
Printed parts
usb_adapter_mount_partial_cover.stl(Nitehawk-SB-V2 repo) ×1 · bin 08-CW2
Tools and consumables
- zip tie, 3×150 mm ×1
Already on the bench
- the CW2 assembly with its toolboard
- the tool cartridge with its four M3×8 studs
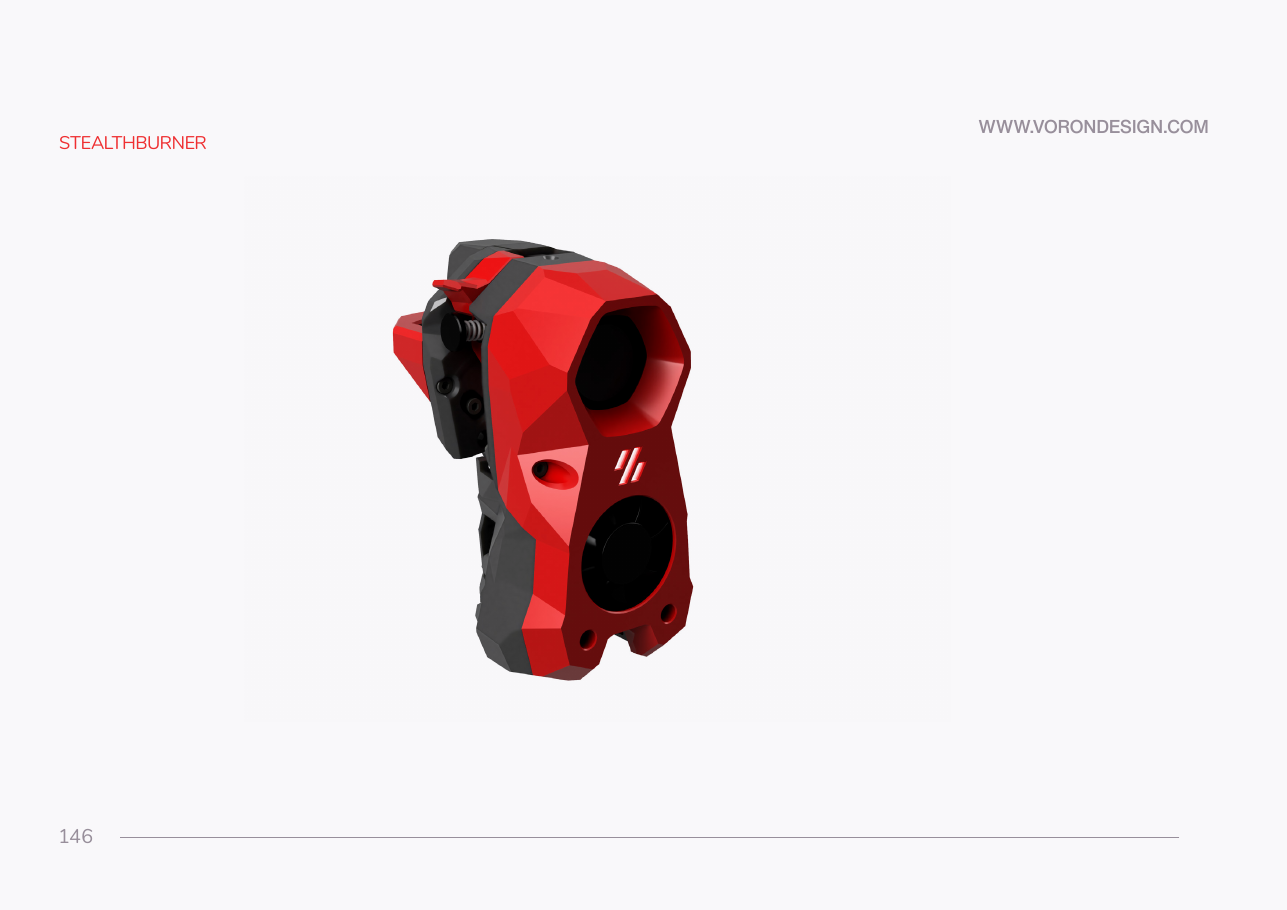
- the Stealthburner body with LEDs, fans and fan adapter
- the toolhead cable
Parts: none.
Do: Manual p.146–147 hands you to the Stealthburner manual and expects you back. You are back. The toolhead goes onto a belted gantry, so support the carriage with one hand and never let the toolhead hang on a half-started bolt.
 Check
Gantry parked mid-travel, carriage accessible from front and both sides, nothing else on the bed to drop a screwdriver onto.
What you're looking at
The hand-off page. Everything from Step 08.1 to here came out of the Stealthburner manual, because the printer manual carries no toolhead content of its own: p.146 points you there and p.147 expects you back.
Caution
Rev D+ / LDO: LDO's Build Notes mark p.146–147 as "Stealthburner + CW2 per the SB manual" — the printer manual contains no toolhead steps at all, only this pointer. Everything in this chapter came from the Stealthburner manual and LDO's own guides, which is why it is written out rather than transcribed. src
Source: Voron manual p.146