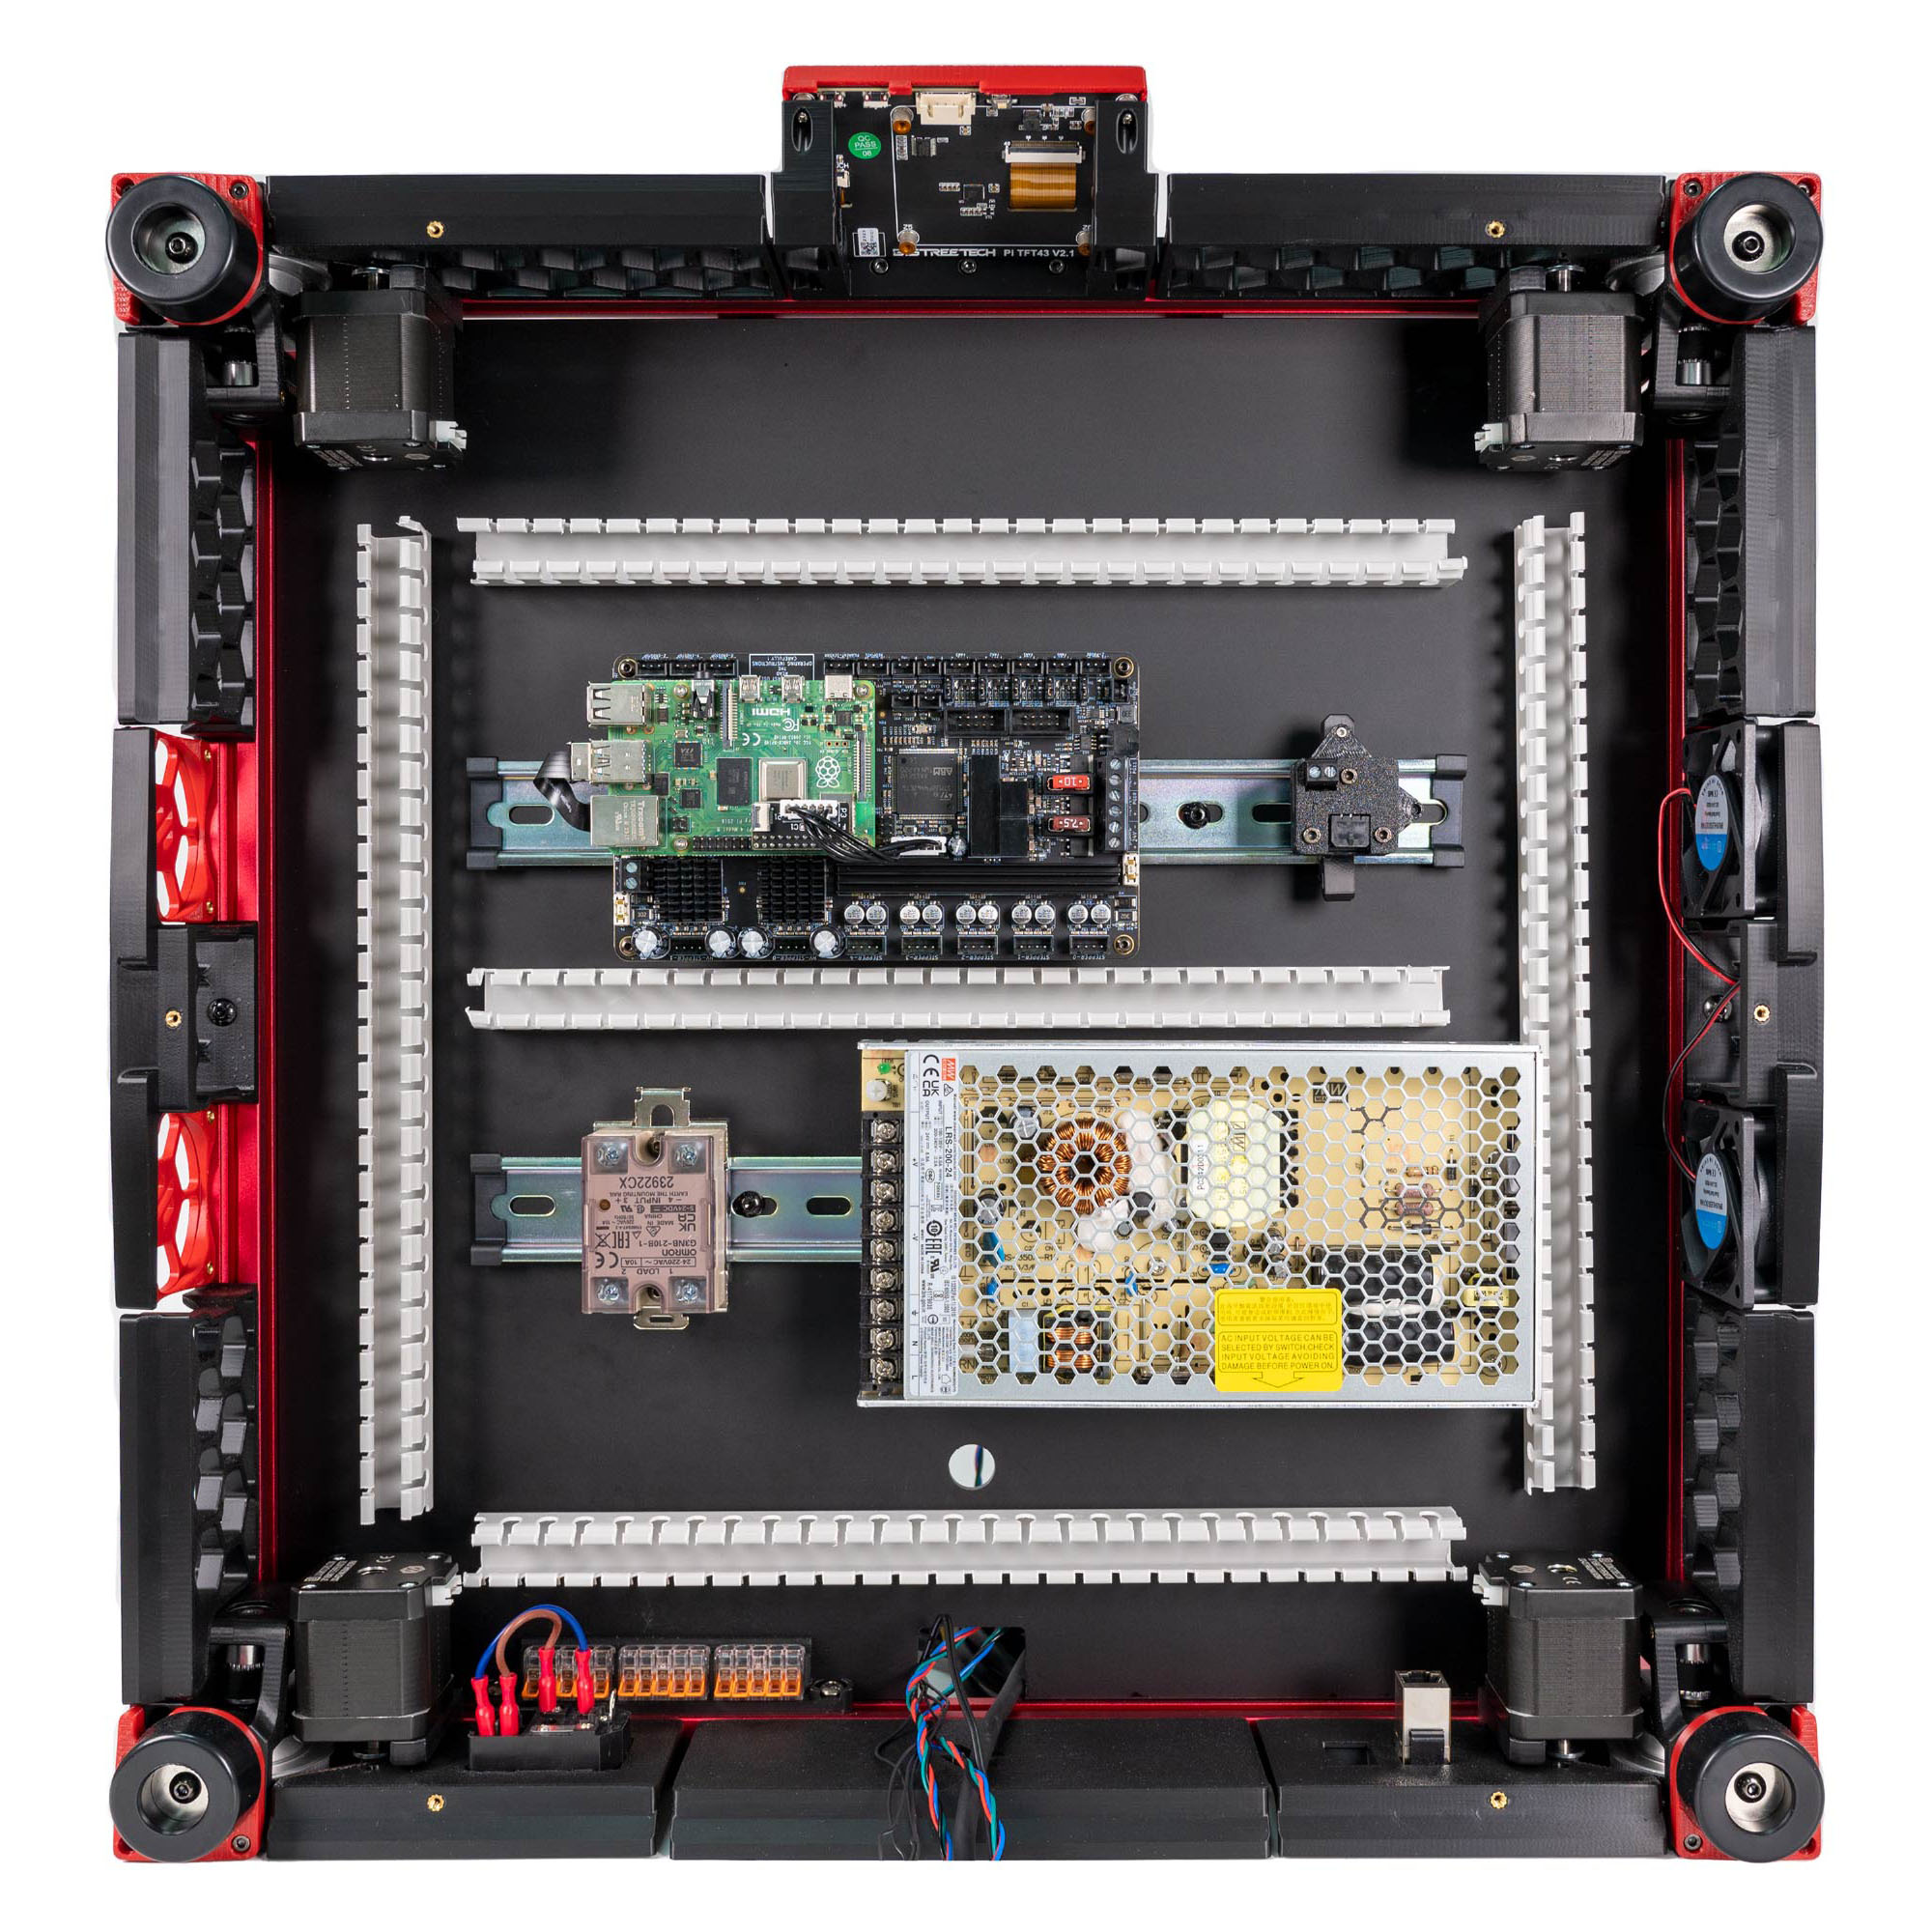
Step 10.6 — Mount the plug panel to the rear frame¶
Step 6 of 80 · Chapter 10 — Wiring and Checkpoint #1
Parts: none.
Do: Nothing to build. Confirm the panel is flat on the extrusion with no gap at its lip, both M3×8 SHCS snug, and that it does not overhang where the rear skirt lands.
Check
The C14 socket faces out the back, the rocker reachable with the printer upright, the three wires reaching the WAGO block with 50–80 mm spare.
What you're looking at
The panel is already part of the machine's rear wall: Ch 09 hooked it over the rear extrusion and bolted it to two T-nuts, with the WAGO block beside it. It becomes one of the three rear skirt segments in Ch 11.
Source: Voron manual p.156 · LDO wiring guide § General placement · LDO Rev D photo S0 general placement