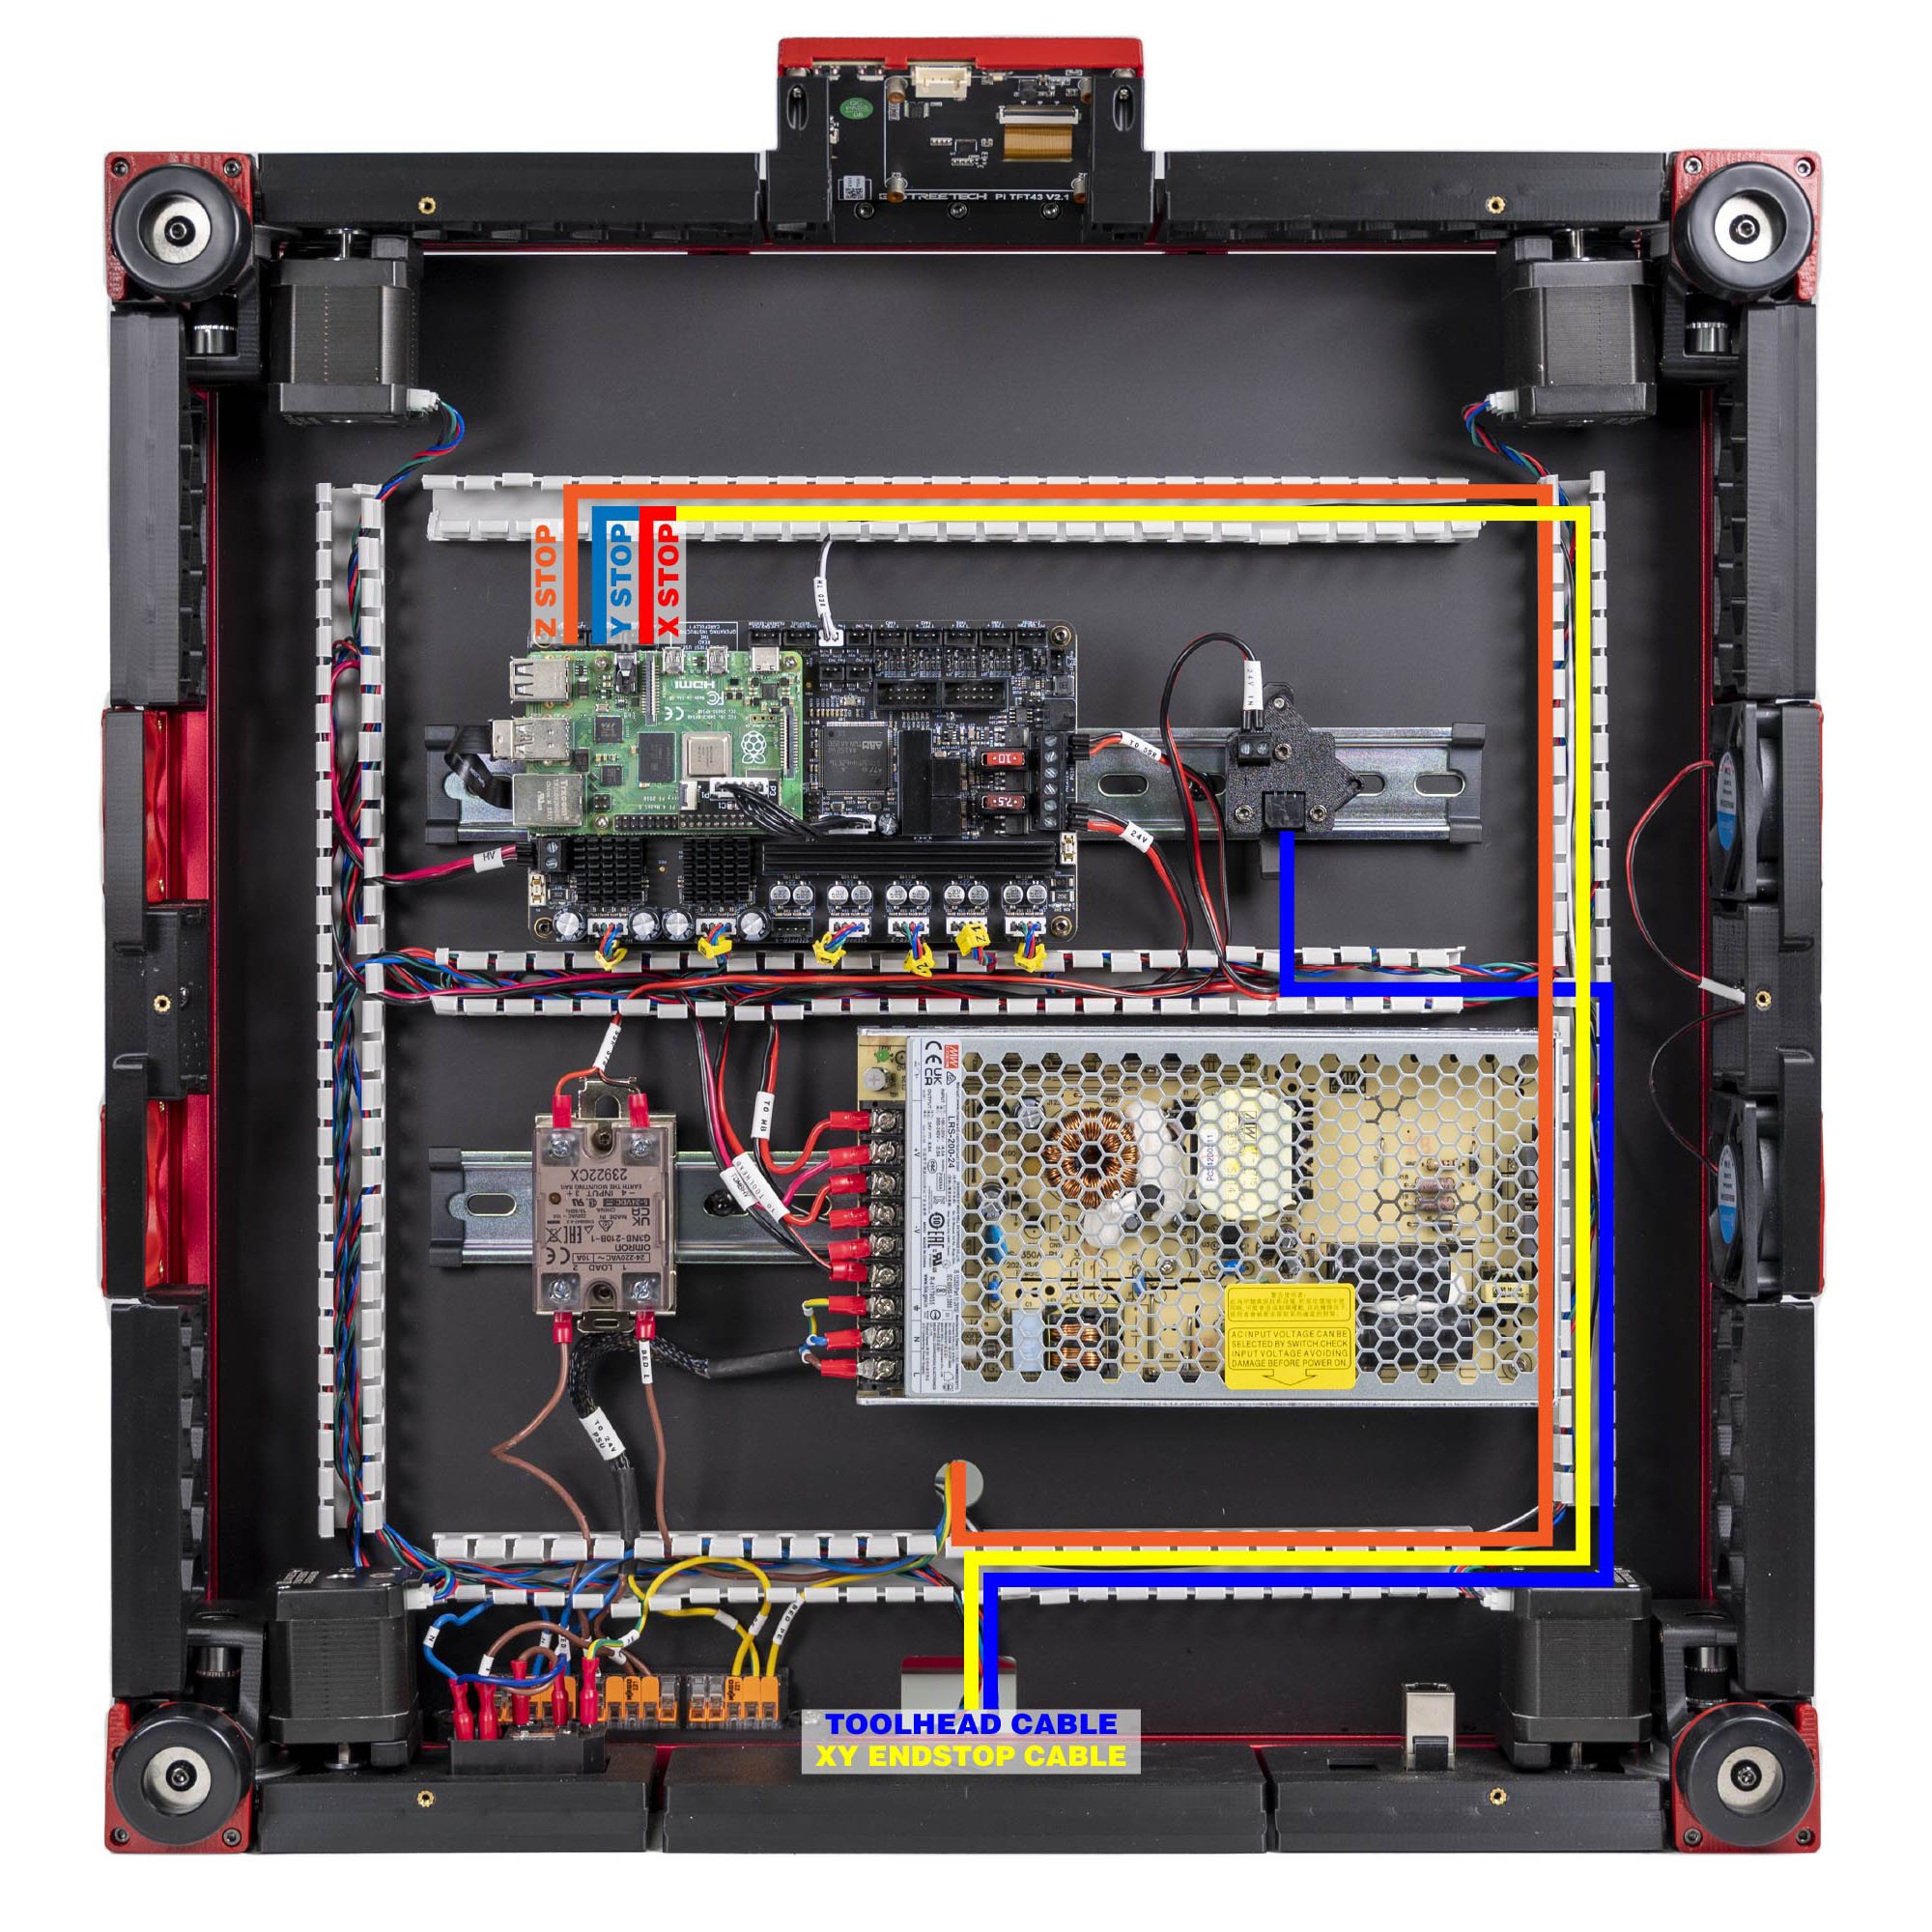
Step 10.67 — Umbilical → USB adapter PCB¶
Step 67 of 80 · Chapter 10 — Wiring and Checkpoint #1
Parts:
- the umbilical's Micro-Fit 3.0 end · already on the bench
Do: With the machine unplugged and confirmed dead, push the Micro-Fit connector into the USB adapter PCB until the latch clicks.
 Check
Latch engaged, connector square, no bend tighter than 28 mm. ESD path: extruder motor body → C14 earth pin, < 2–3 Ω.
What you're looking at
The bay end of the umbilical finally lands on the adapter PCB that has been waiting since steps 10.26 and 10.53. The Micro-Fit's latch is the click you are listening for.
Caution
Rev D+ / LDO: leave enough slack at the toolhead that the V2's secondary USB port stays reachable without pulling the toolhead off. That port is the whole point of the "+" in Rev D+ (USB passthrough for a future eddy-current probe); designing it out now costs you a re-route later. src — survey §4.1, sixth item
 Good stopping point · ~25 min since the last one
every cable laid into its chain, all six chain ends zip-tied, every latch clicked shut, umbilical Micro-Fit seated in the USB adapter. Gantry moves through full X, Y and Z travel by hand.
Source: LDO Rev D photo S6 gantry-cable mapping · Nitehawk-SB V2 README § Features